Example Limewash Projects in Cedar Park

Each example follows one limewash job from the first request to the finished surface: what is on the wall now, how much of it there is, the work involved, how long it takes and about what it would cost. All four houses date from the 2000s or 2010s, the two decades in which about two-thirds of Cedar Park homes were built.

None of them is a past job, client or address. Each is put together from the age of local houses, what a surface normally needs before lime goes on and current prices, to show what a quote is likely to cover.

Limestone fireplace in a 2000s living room

Example project
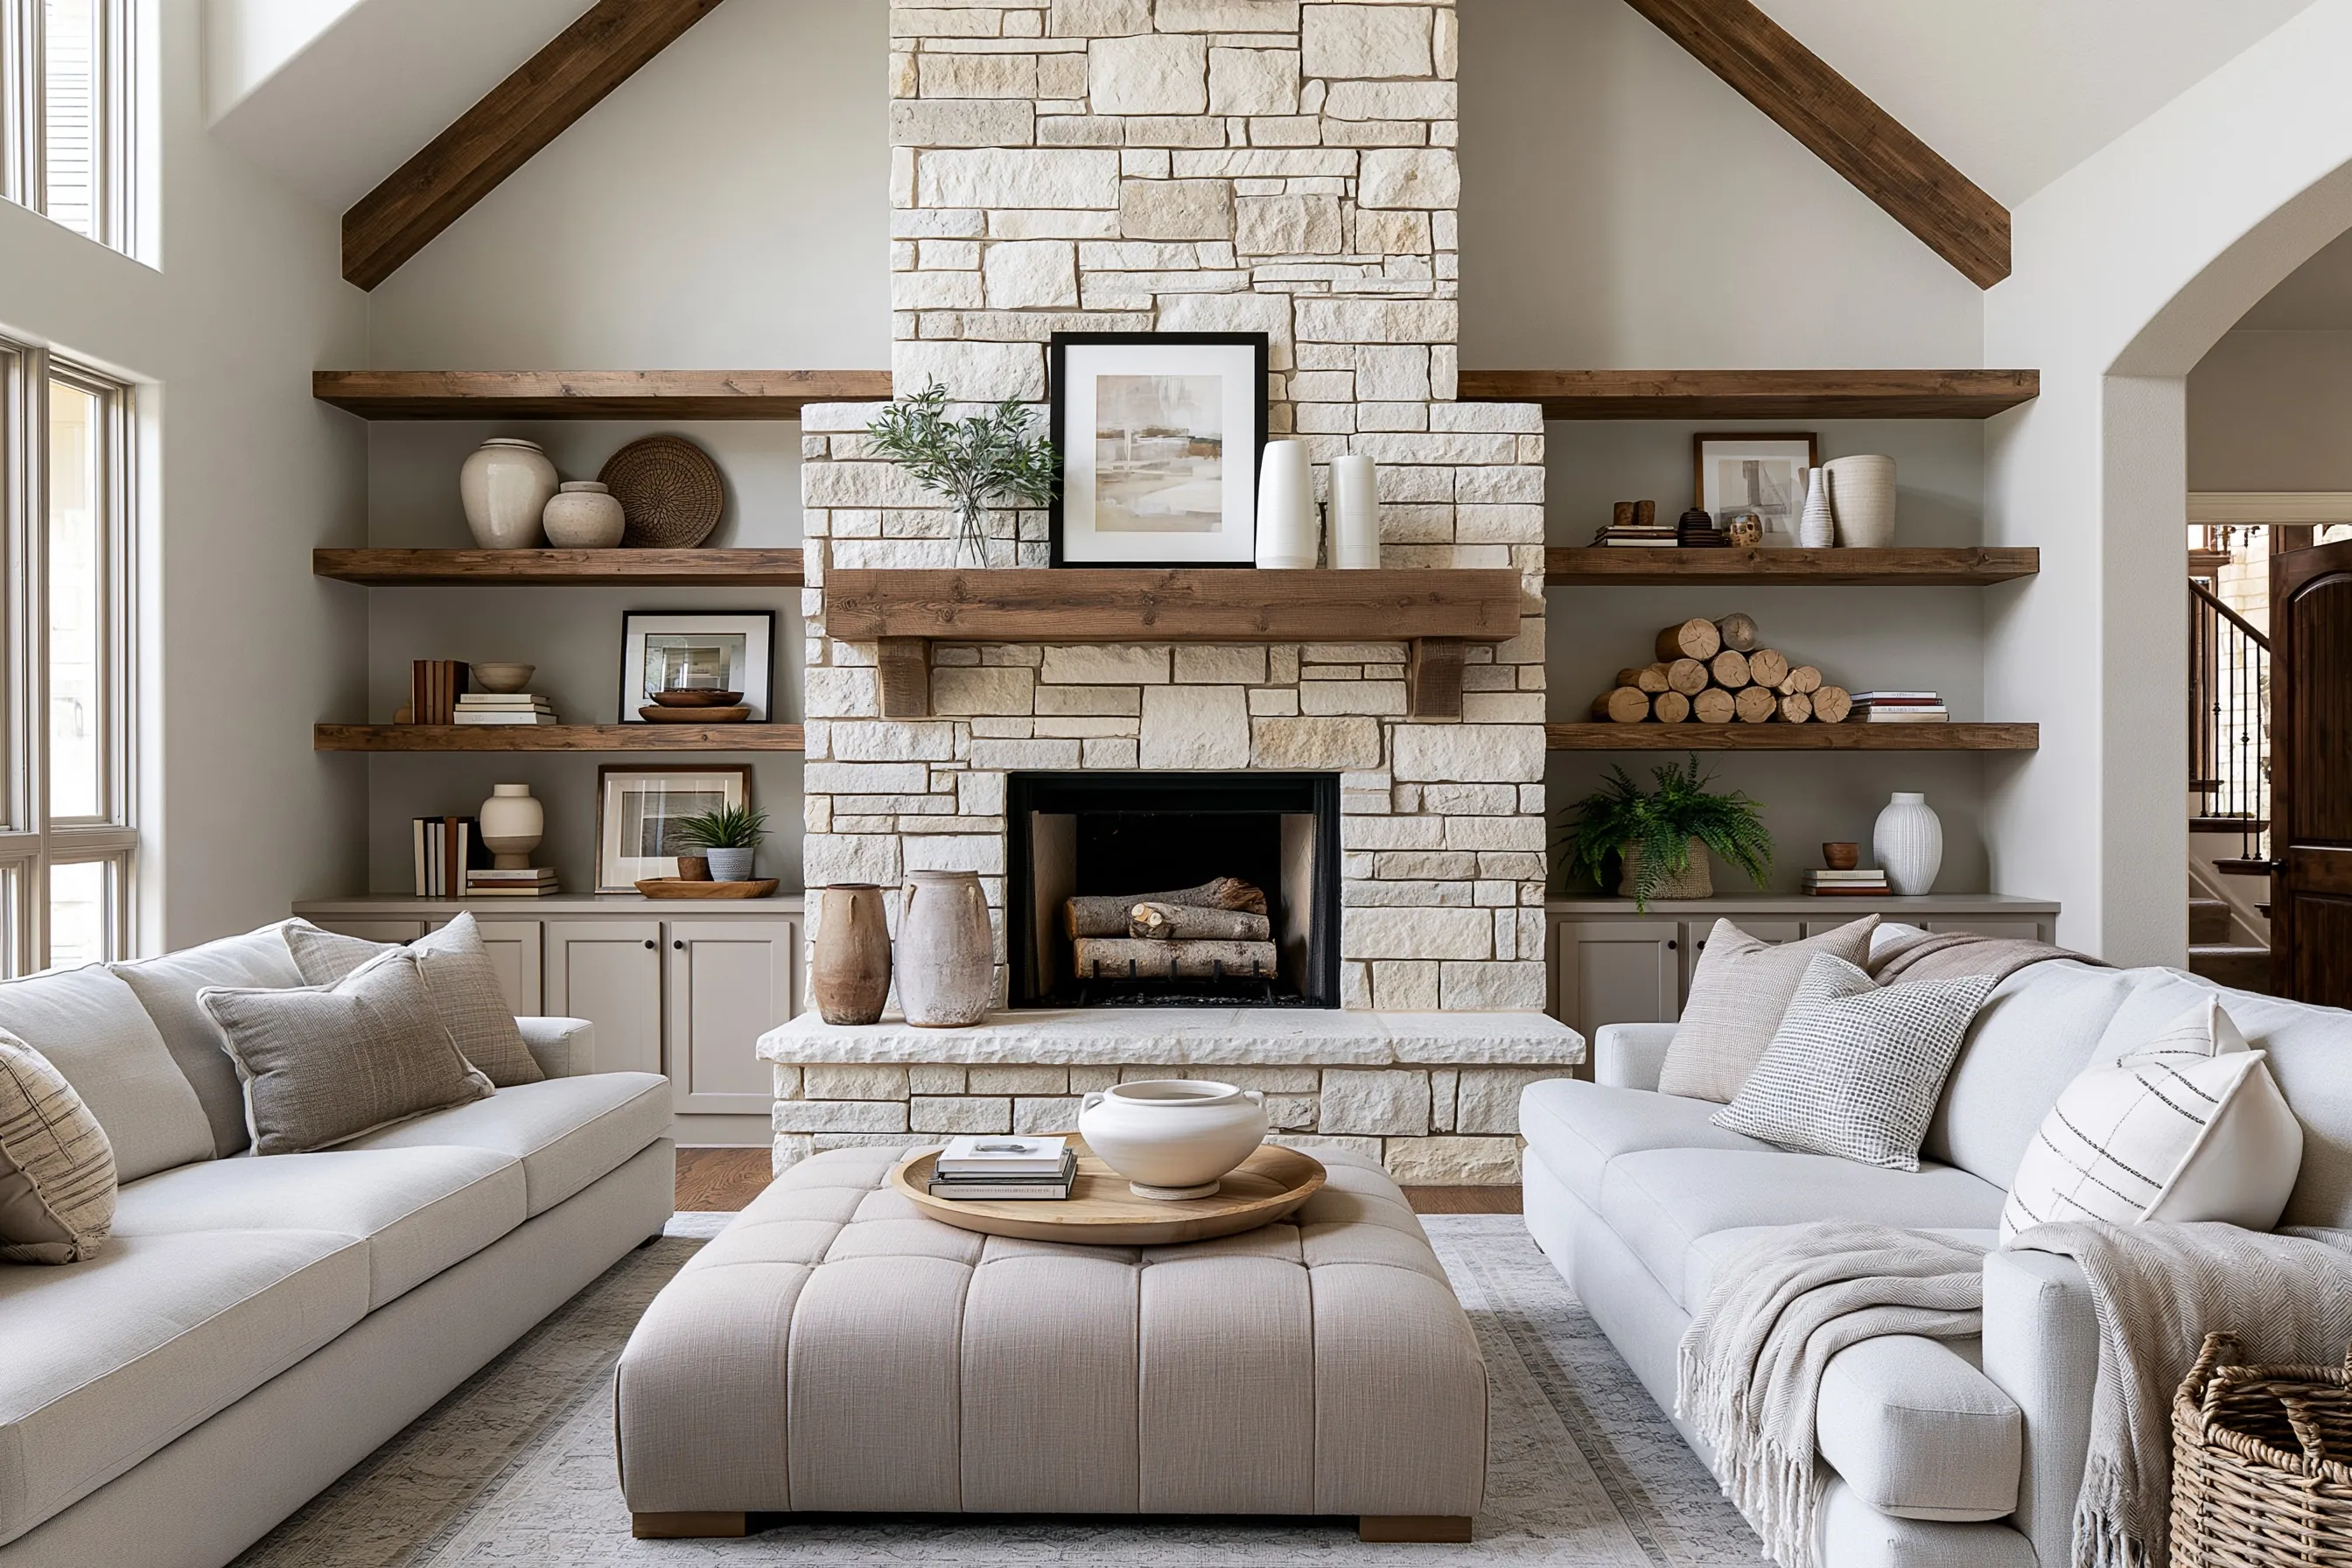
Vaulted living room with a floor-to-ceiling stacked limestone fireplace in pale limewash, a wood beam mantel and floating wood shelves
Home
2000s two-story house, living room with a beamed vaulted ceiling and floating shelves
Original request
Calm down a yellow-cream stone fireplace without tearing it out
Surface
Stacked limestone chimney breast up to the ceiling, with a raised hearth
Area
About 150 sq ft of stone
Existing finish
Bare limestone, dusty, with light soot over the opening
Finish
Limewash in a soft warm white, a thinned first coat and one fuller coat
Timeline
Two working days, plus a short visit 10 to 14 days later
Estimated cost
$1,850

Scope of work

Covers for the floor, shelves, cabinets and wood beam mantel; a ladder or platform for the upper stone; dust and soot cleaning; a water test on several stones; dampening before each coat; a thinned first coat and a fuller second coat; a clear protective topcoat on the hearth top on a return visit; clean-up. The firebox stays bare and the mantel keeps its wood finish.

Project overview

In this example, the owners have moved to lighter, cooler floors and walls, and the yellow-cream stone fireplace now looks out of step with the room. Refacing it would mean demolition and dust through the house. Limewash changes the color and keeps the stacked stone.

Bare limestone usually soaks lime in well, but a sealer from years back would stop it, so a few stones get a water test first. The thinned first coat takes the yellow out; the second coat brings it to a soft warm white, brushed lighter on the stone edges so the stacking still shows.

The goal

The goal is a soft warm-white fireplace that rises to the beams and sits with the new floors and walls, with the outline and shadow of each stone still visible.

Process

  1. Before work Two sample boards, warm white and greige, held against the floor and sofa in daylight and lamplight.
  2. Day one Floor, shelves and mantel covered, stone dusted and cleaned, water test, then the stone dampened and the thinned coat brushed on.
  3. Day two Second, fuller coat, lighter on the stone edges, and clean-up.
  4. Afterwards The color dries paler over several days. The fireplace can be used again once the product’s cure time has passed.
  5. 10 to 14 days later A clear topcoat on the hearth top, where people sit and set things down.

Planning right

  • Stone hardens more slowly than brick indoors, so the hearth topcoat waits 10 to 14 days.
  • Nothing goes inside the firebox, where fire chars the lime and soot covers it.
  • Soot left on the stone shows through a pale white as a gray shadow, so the area over the opening is cleaned twice.
  • Hold the boards against the floor you have now, not the old one. Limestone color changes a lot next to wood or tile.
Request a free quoteMore about limewash fireplaces

Brick wall in a 2000s breakfast nook

Example project

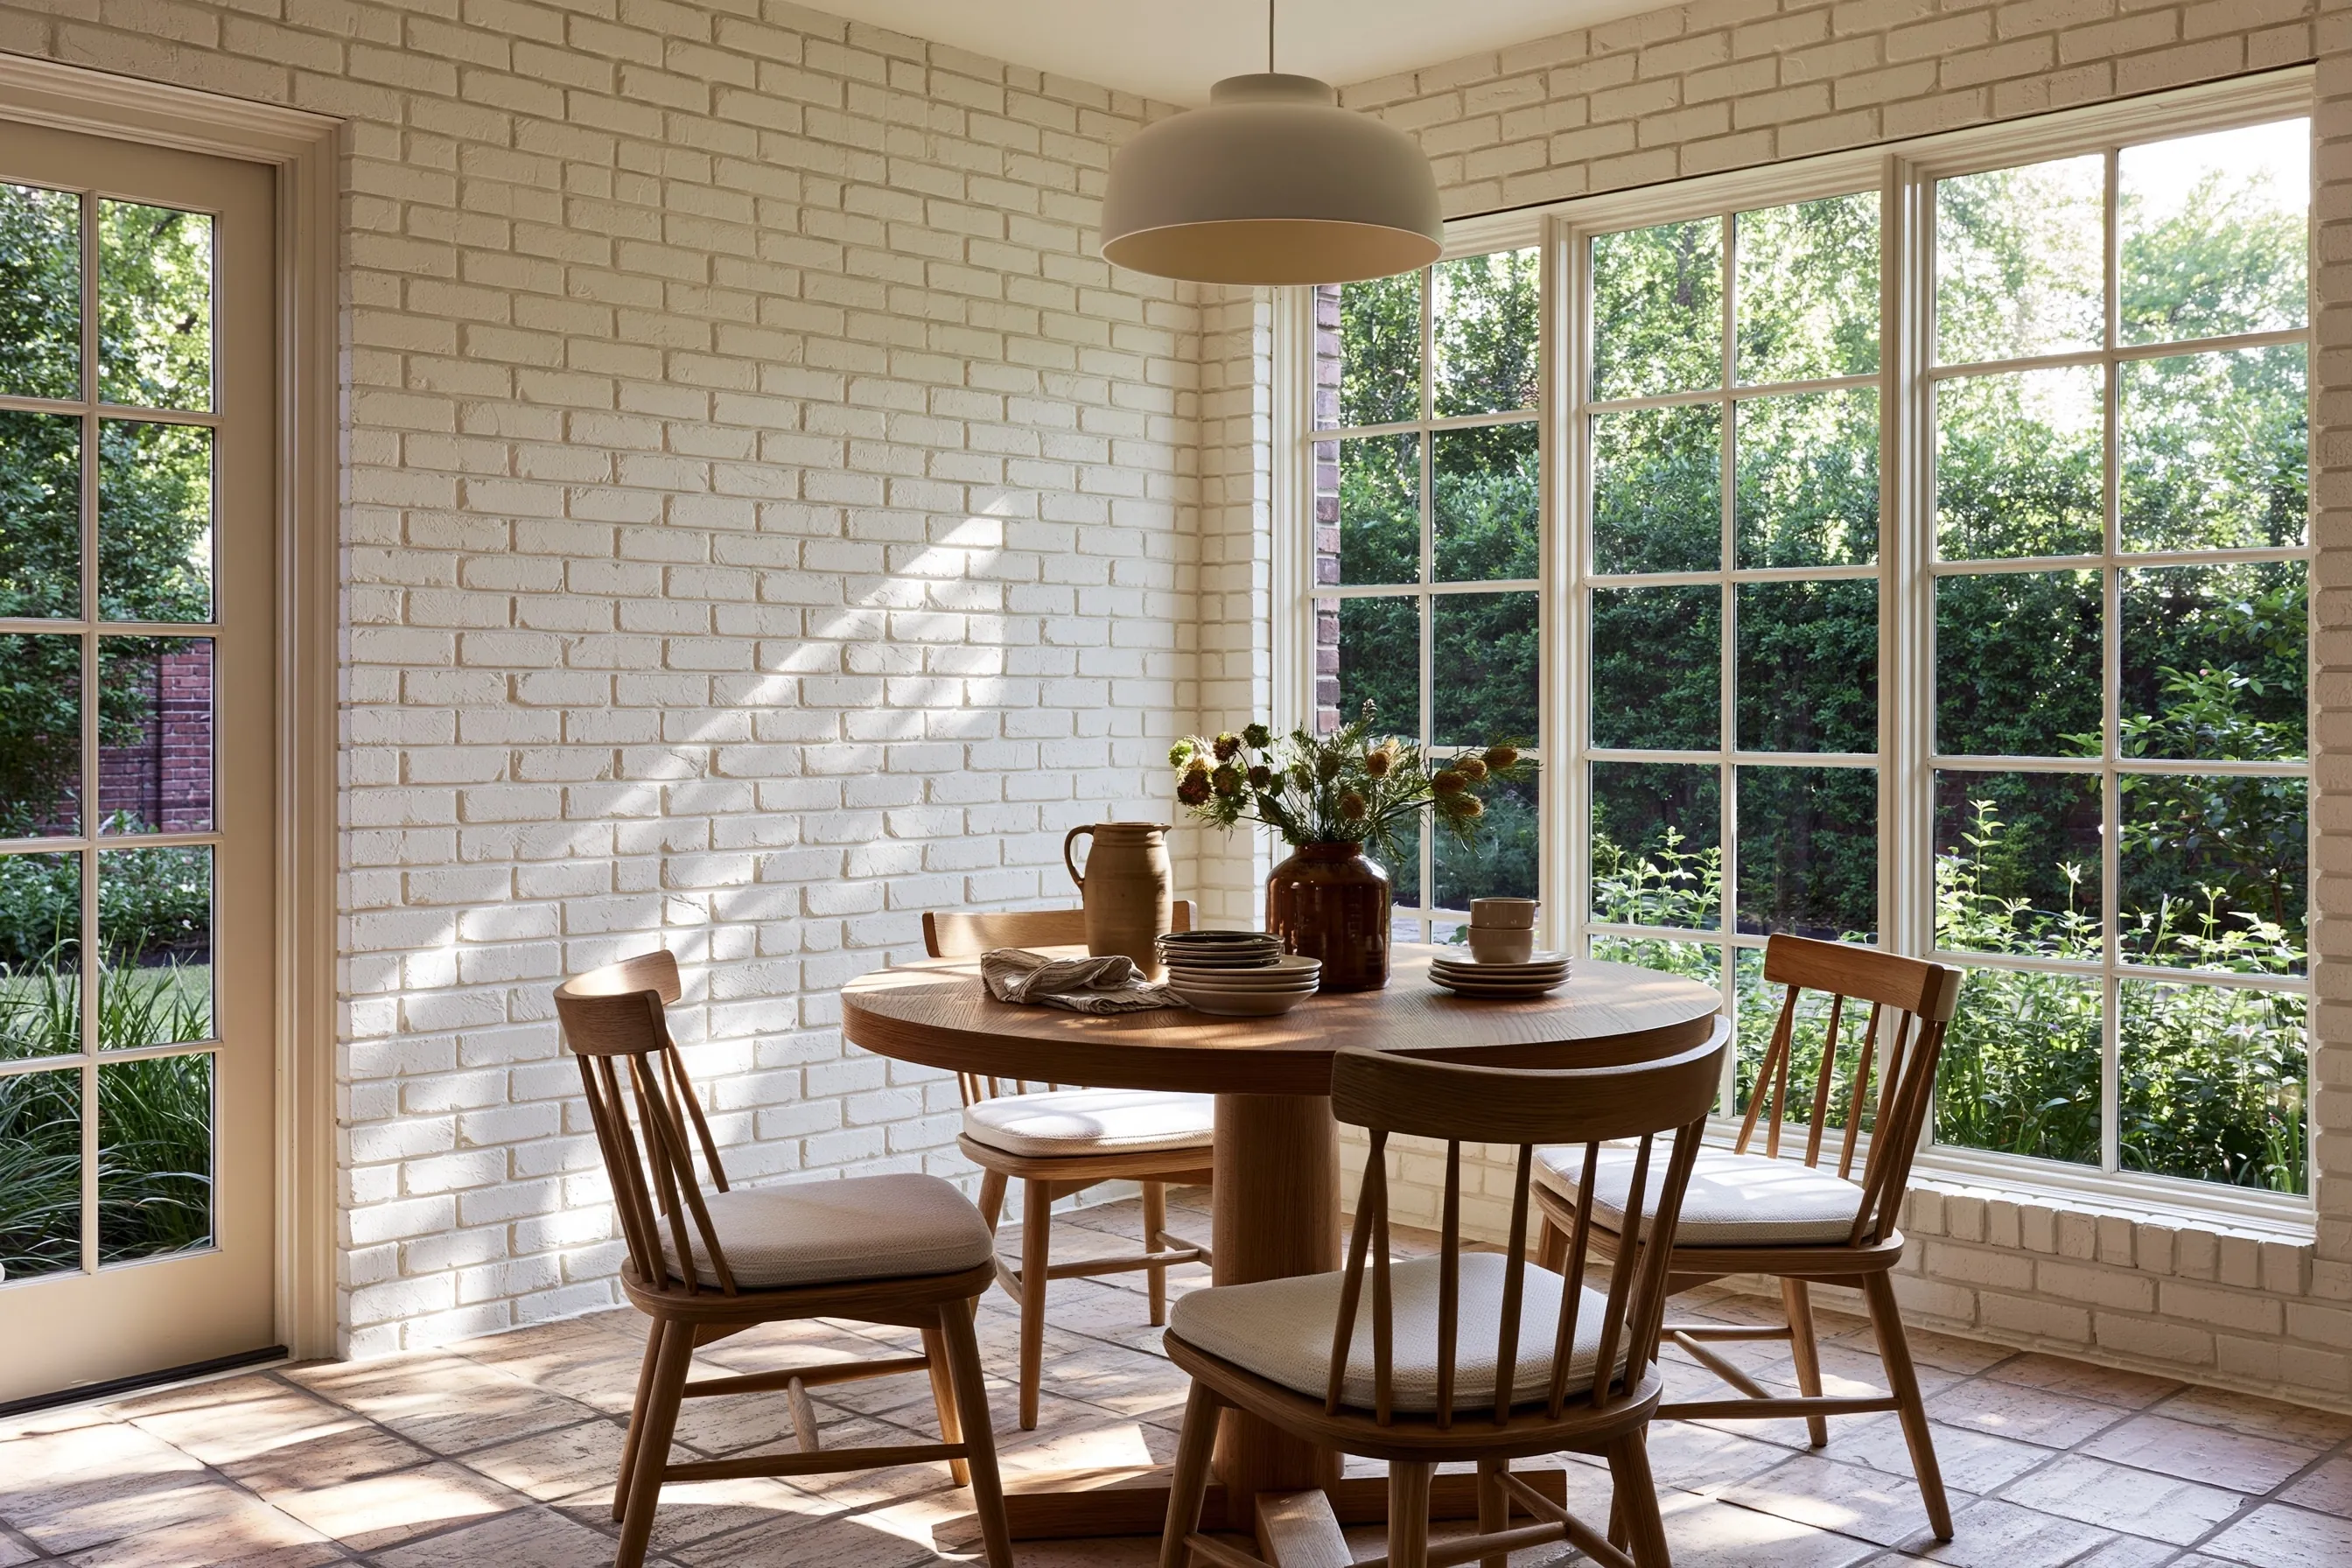
Breakfast nook with brick walls limewashed in warm white, a round wooden table, spindle chairs, tall windows and a tile floor
Home
2000s house, breakfast nook off the kitchen
Original request
Brighten one dark brick wall and keep it looking like brick
Surface
One full brick wall plus the brick around the windows
Area
About 200 sq ft of brick
Existing finish
Bare brick, with a clear sealer on the lower courses
Finish
Warm white limewash, two coats
Timeline
Two working days
Estimated cost
$1,450

Scope of work

Covers for the tile floor, windows and door; dusting and cleaning; a water test across the whole wall; a bonding primer on the sealed lower courses; dampening; two brushed coats; clean-up.

Project overview

In this example, the brick is the darkest surface in a bright breakfast nook with tall windows, and the owners want it lighter without a flat painted look. Warm white limewash lets the brick shapes and joints show through.

The water test changes the plan. The upper brick darkens and drinks the water in, but on the lower courses it beads, a sign someone sealed that part years ago. Limewash cannot soak into those bricks, so they get the bonding primer the product calls for before the first coat.

The goal

The goal is warm white brick that brightens the nook while every brick and joint still reads, with no line between the primed and bare parts.

Process

  1. Before work Water sprayed on the brick at several heights, and two boards in warm white and chalk set beside the table.
  2. Day one Covers on, brick dusted and cleaned, and the bonding primer brushed onto the sealed lower courses.
  3. Day two Brick dampened and the first coat brushed on in the morning; the second coat in the afternoon, once the first has dried.
  4. Afterwards The white keeps lightening for several days as the lime hardens.

Planning right

  • Spray water on the brick before you ask for prices. If it sits on the surface instead of soaking in, the wall needs a primer or extra preparation.
  • Plain limewash is dusted, not scrubbed. If chairs rub the wall, a clear topcoat on that band can be added about two weeks later.
  • The primed lower courses take the color a little more evenly than bare brick, so the second coat is brushed to blend the two.

Request a free quoteMore about limewash brick

Stucco exterior of a 2000s single-story house

Example project

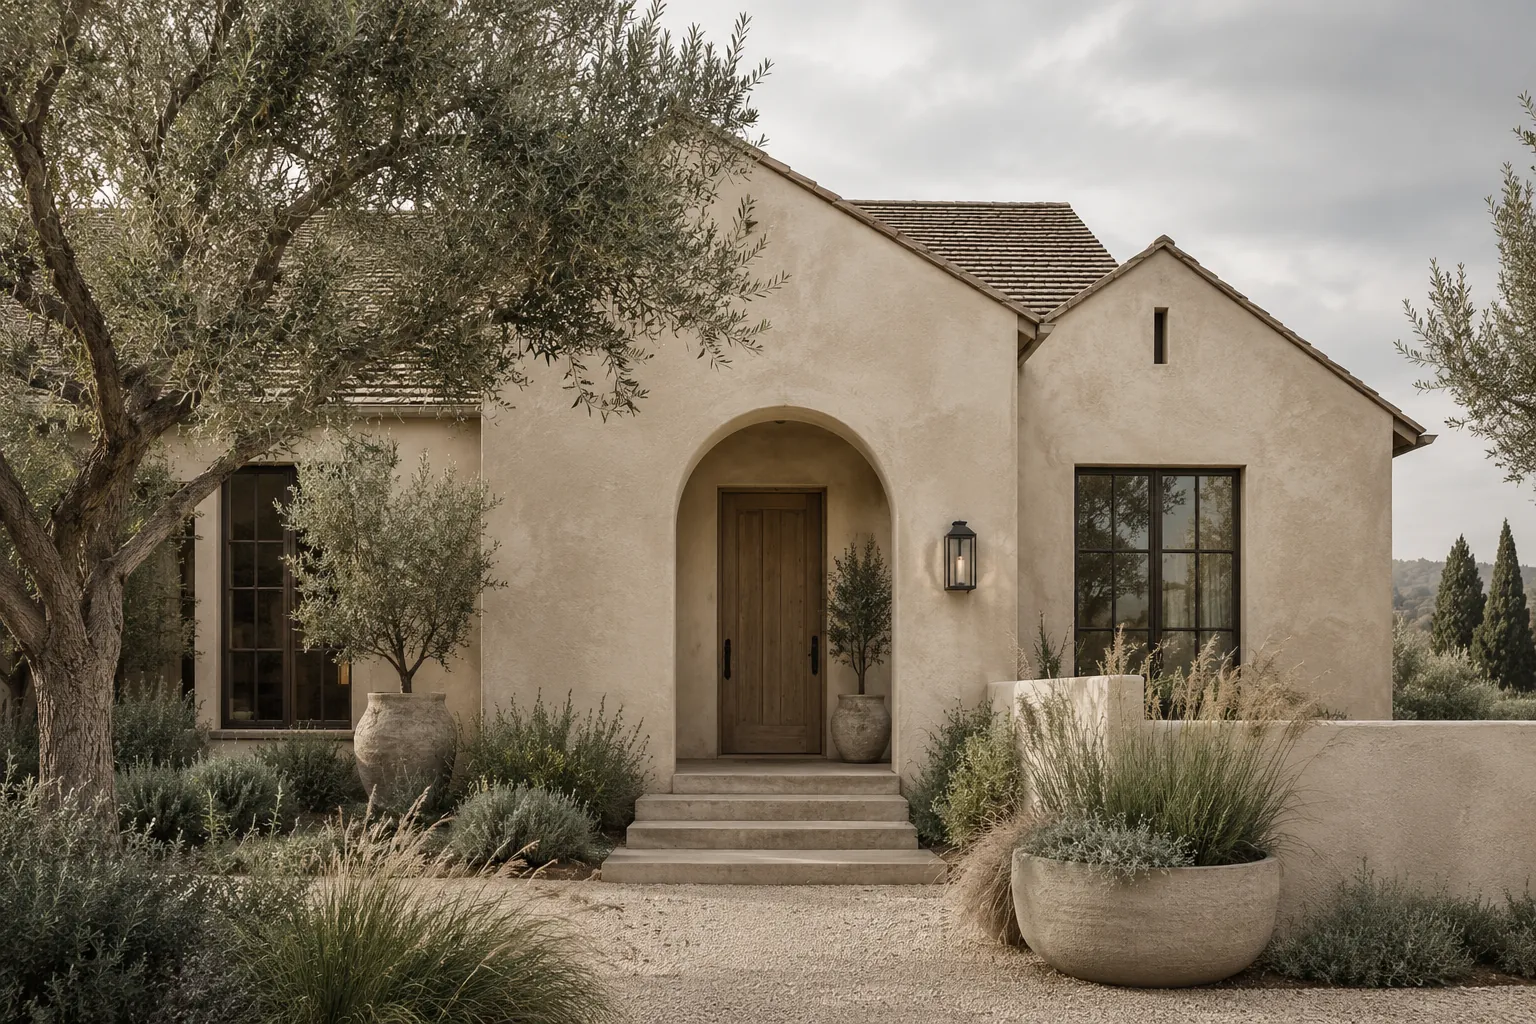
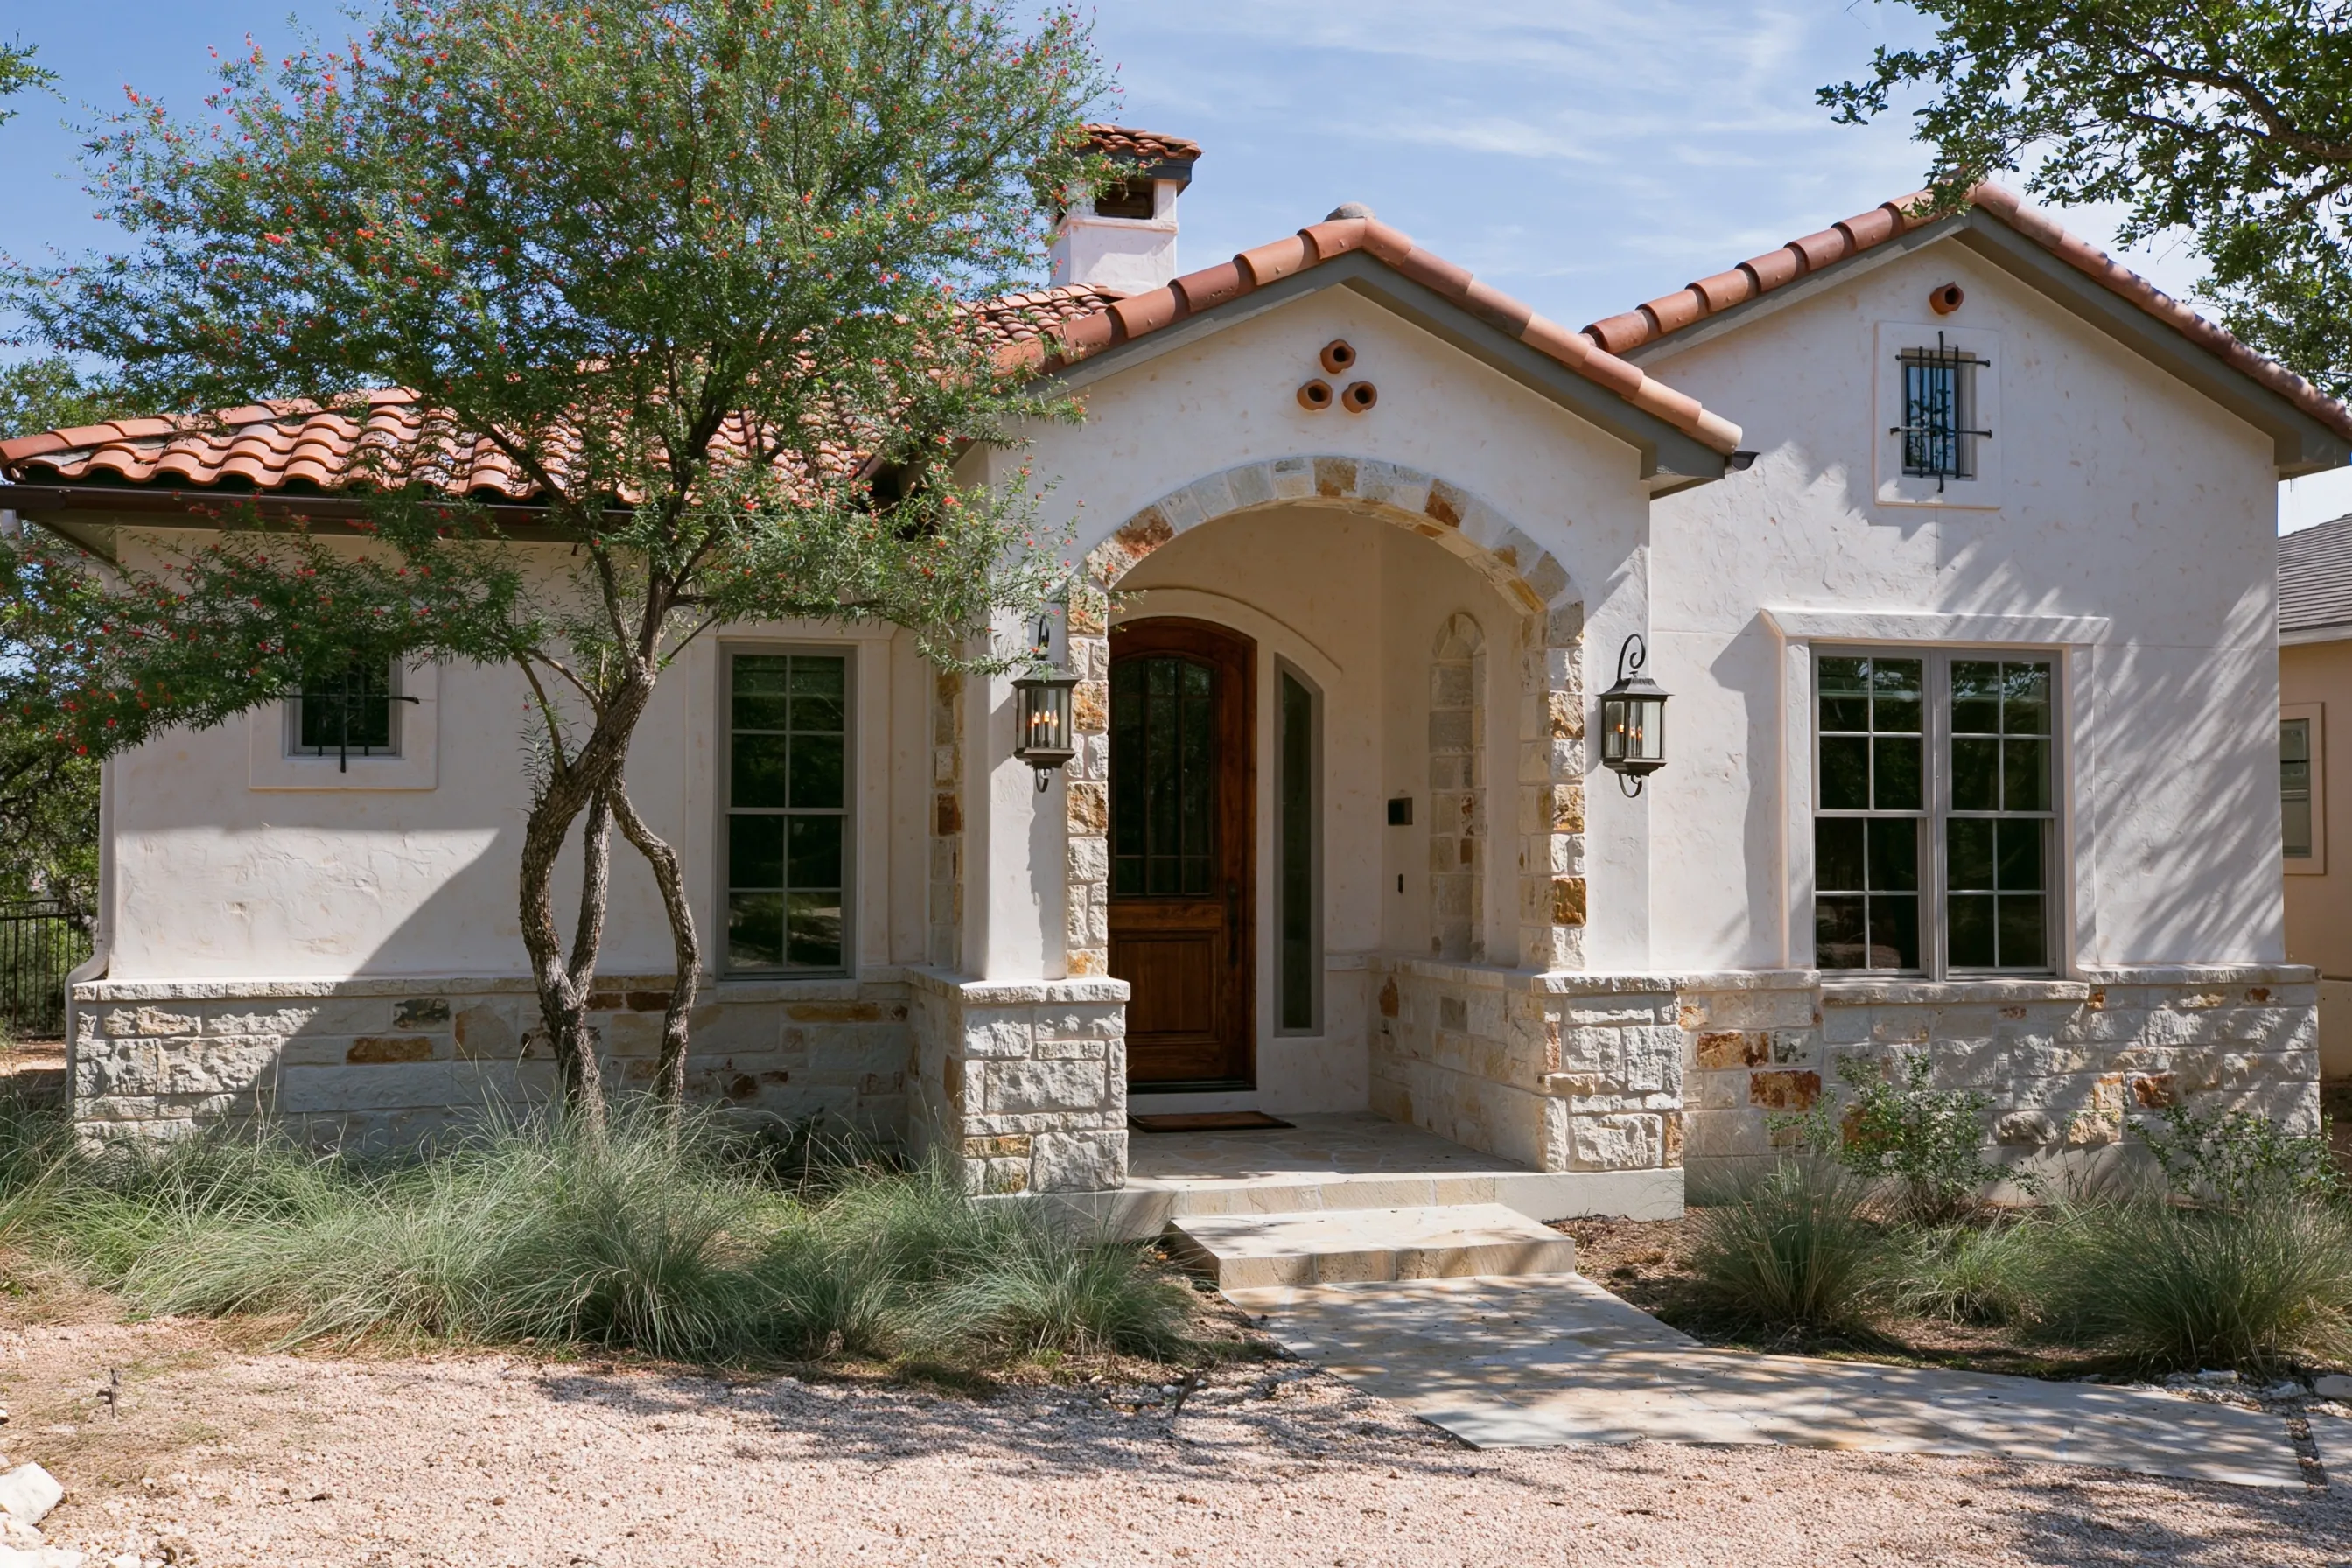
Single-story stucco house limewashed in warm off-white above a limestone base, with a limestone entry arch and a clay tile roof
Home
2000s single-story house with a clay tile roof
Original request
Refresh faded stucco and keep the limestone base and entry arch natural
Surface
Cement stucco walls, gables and chimney above a limestone base; limestone left bare
Area
About 1,300 sq ft of stucco
Existing finish
Unpainted stucco, faded unevenly, with hairline cracks
Finish
Exterior limewash in warm off-white, two coats
Timeline
Five to six working days, coating only in shade
Estimated cost
$7,400

Scope of work

A water test for old coatings; low-pressure washing; filling hairline cracks; covers for the limestone base, entry arch and piers, windows, doors, roof edge and plants; dampening before each coat; two brushed coats applied wall by wall as each falls into shade; a final walk-round.

Project overview

In this example, the stucco has faded unevenly over 20 years, darker under the eaves and chalky on the sunniest walls. The owners want a warm off-white with soft movement, and the limestone base and entry arch left as they are.

Heat sets the schedule more than rain. Most limewash makers put their limit between about 80°F and 90°F and rule out direct sun on the wall, so the job is planned for a mild, dry stretch in fall, starting early each day and coating each wall while it is in shade.

The goal

The goal is a soft off-white house with gentle mottling across each wall, and the limestone base and entry arch standing out against it.

Process

  1. Before work Water test for old coatings and a sample patch on a side wall. If the house is in an HOA, the color goes to them first.
  2. Day one Low-pressure wash; the walls left to dry.
  3. Day two Hairline cracks filled; limestone, windows, doors, roof edge and plants covered.
  4. Days three and four First coat on dampened stucco: the west and north walls in the morning, the east wall once the sun has moved off it.
  5. Days five and six Second coat in the same order, covers off and a walk-round.

Planning right

  • A wall in full sun runs hotter than the air around it. Ask how the crew plans to keep coats in the shade.
  • Turn off lawn sprinklers that reach the walls. Makers want the new lime kept dry for anything from 12 hours to a week.
  • Cracks wider than a hairline can mean the wall is moving. They are repaired before any lime goes on.
  • Limewash will not soak into stucco that was painted or sealed. Test before it is priced as bare stucco.

Request a free quoteMore about limewash stucco and concrete

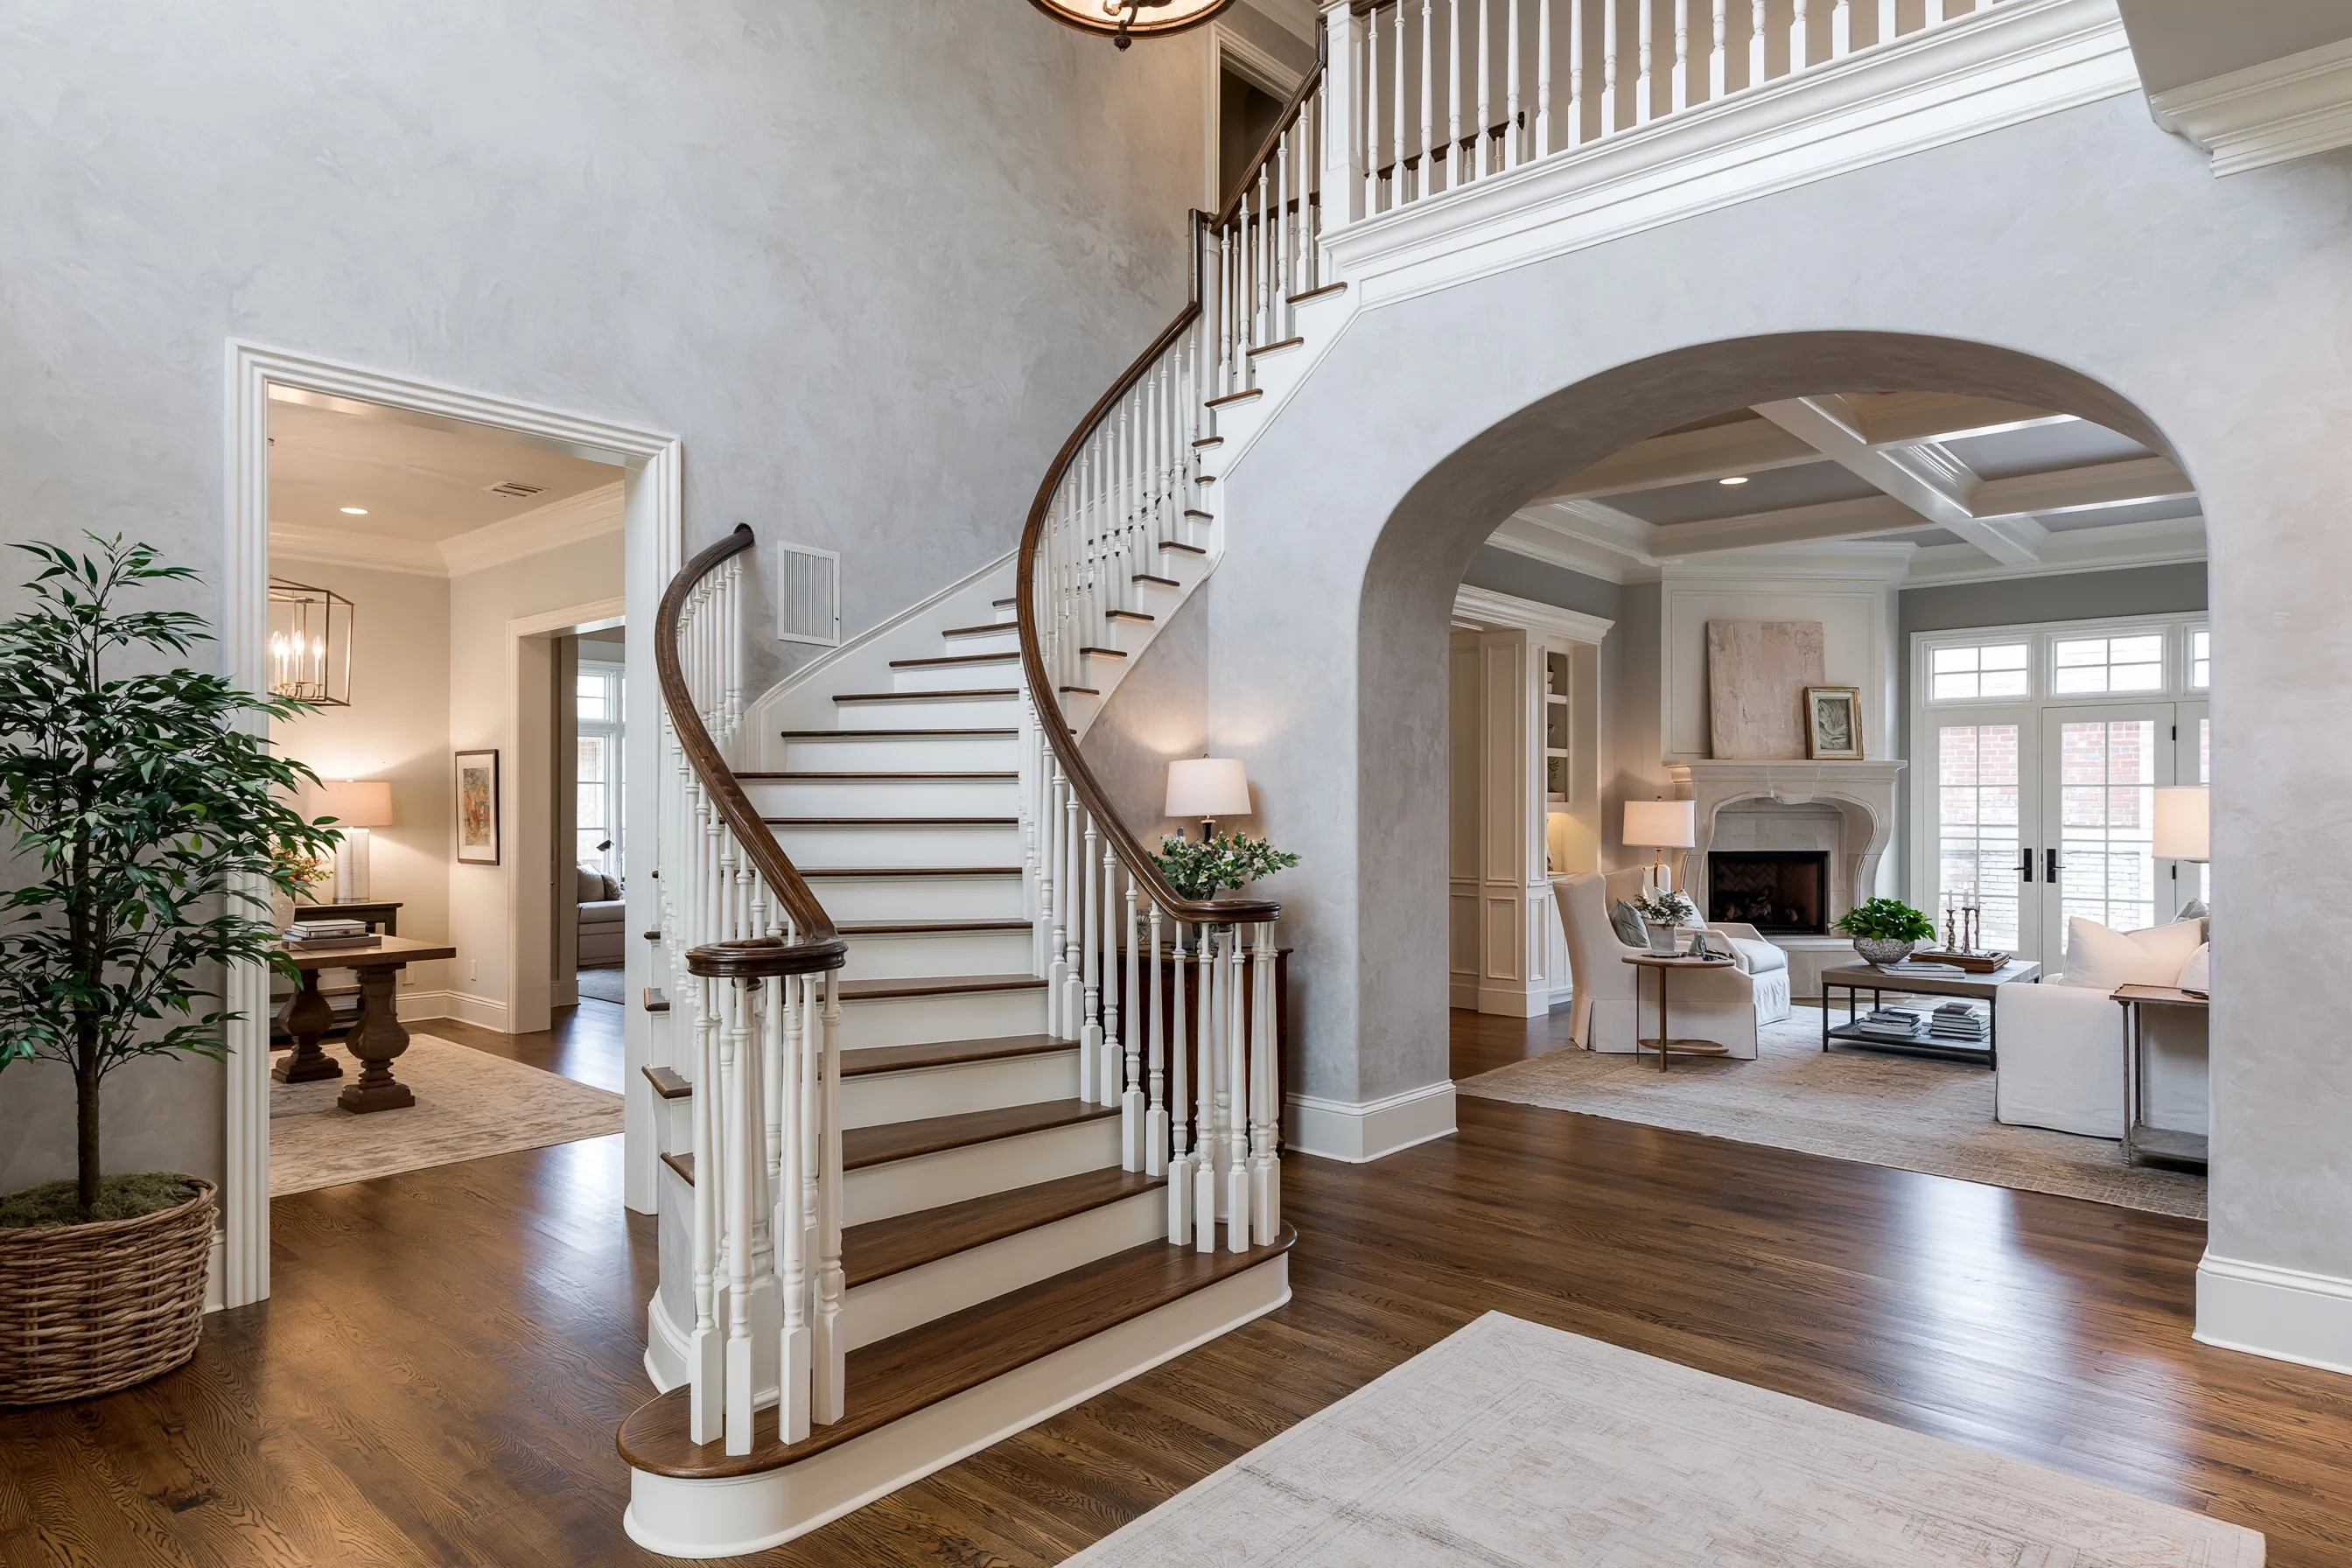
Two-story entry and curved stair in a 2010s house

Example project

Two-story entry hall with a curved staircase, pale gray limewash walls and an arched opening to the living room
Home
2010s two-story house with an open entry hall
Original request
A softer, warmer look than the flat paint the house was built with
Surface
Painted drywall in the entry, along the curved stair and at the upstairs balcony
Area
About 1,200 sq ft of wall
Existing finish
Flat latex paint, scuffed along the stairs
Finish
The product’s primer, then pale gray limewash for interiors, two coats
Timeline
Five working days
Estimated cost
$6,800

Scope of work

Cleaning and spot-patching; the primer system the product needs over latex, tinted toward the gray; staging on the curved stairs; covers for floors, treads, balusters, handrail and baseboards; two brushed coats; touch-ups after the staging comes down.

Project overview

In this example, the entry still has the flat paint the house was built with, scuffed where people carry things up the stairs. The owners want walls with some depth that still feel light, and the same pale gray running from the front door up to the balcony.

Limewash will not grip latex paint by itself, so the job starts with the primer the product names. The curved stair wall decides the layout of the staging, because each tall wall has to be brushed in one go from top to bottom to avoid lap marks.

The goal

The goal is a pale gray that moves softly up the curved stair and carries into the living room through the arch without a hard line.

Process

  1. Before work Three boards in pale gray, greige and chalk, looked at from the front door and from the balcony.
  2. Day one Covers and masking, scuffs cleaned, dents filled and sanded, staging set up on the stairs.
  3. Day two Primer on every wall, tinted toward the gray.
  4. Day three First coat, finishing each wall before starting the next.
  5. Day four Second coat, starting with the stair wall.
  6. Day five Staging down, touch-ups, masking off and a last look in evening light.

Planning right

  • Ask for the primer to be tinted toward the finish color, so any thin spot does not show white.
  • The balcony is seen from the front door with the stair wall, so both are coated in the same session.
  • Limewash hides scuffs once they are cleaned, but not dents. Those are filled first.
  • Gray limewash dries lighter than it looks wet. Judge the boards once they are fully dry.

Request a free quoteMore about interior limewash walls

More limewash finishes

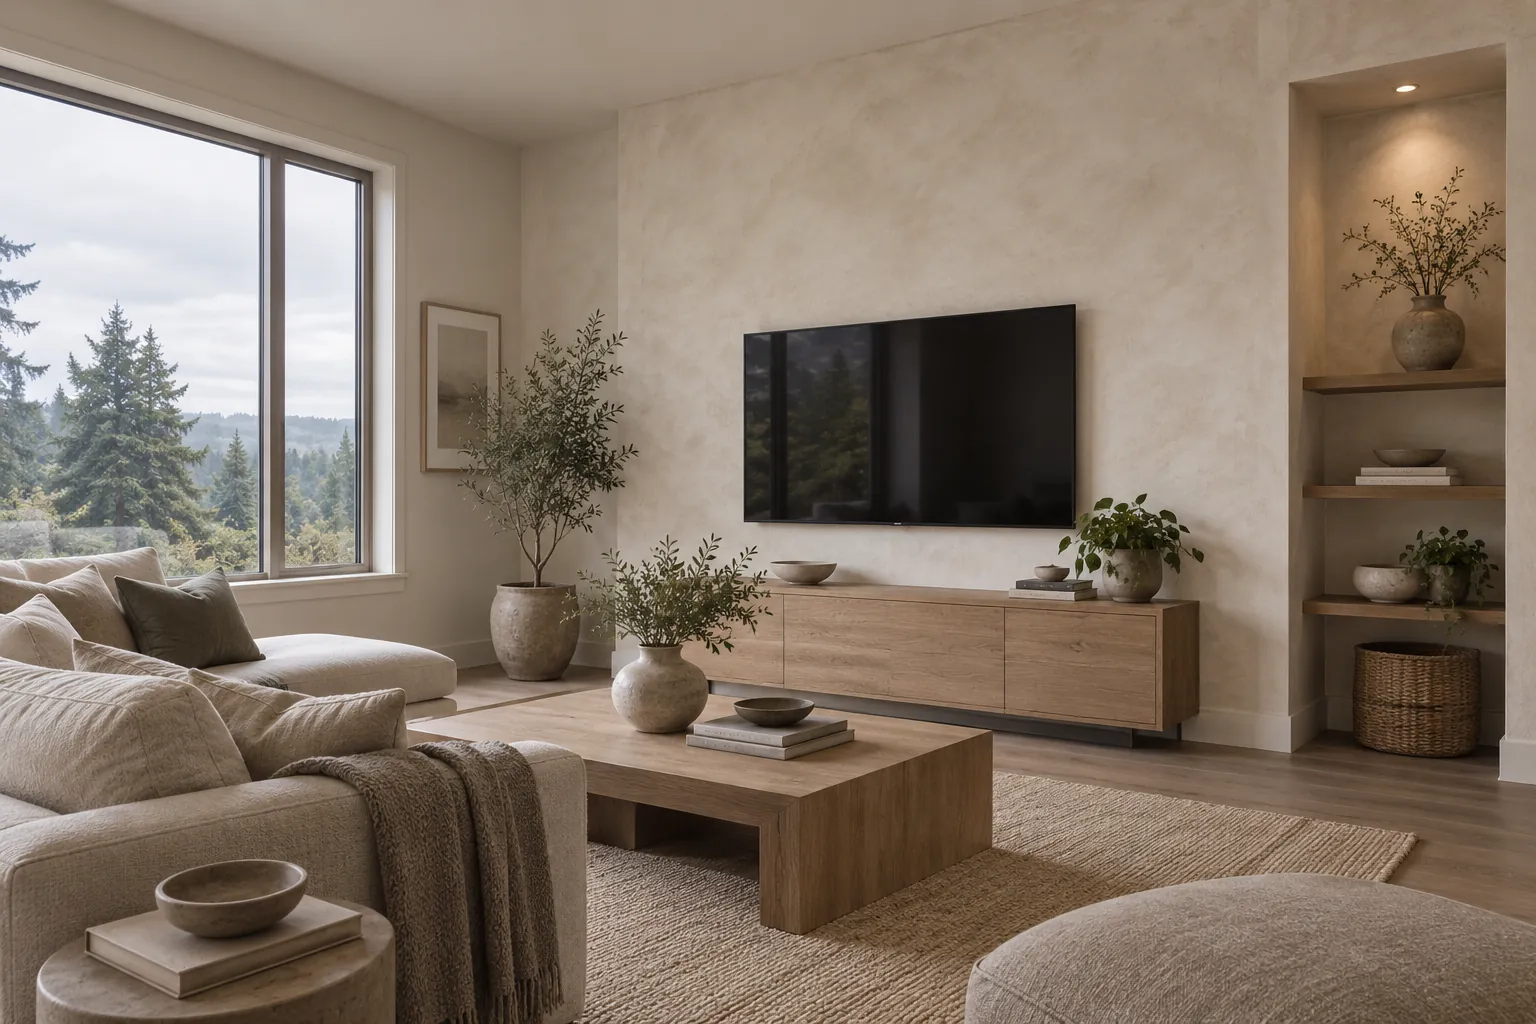
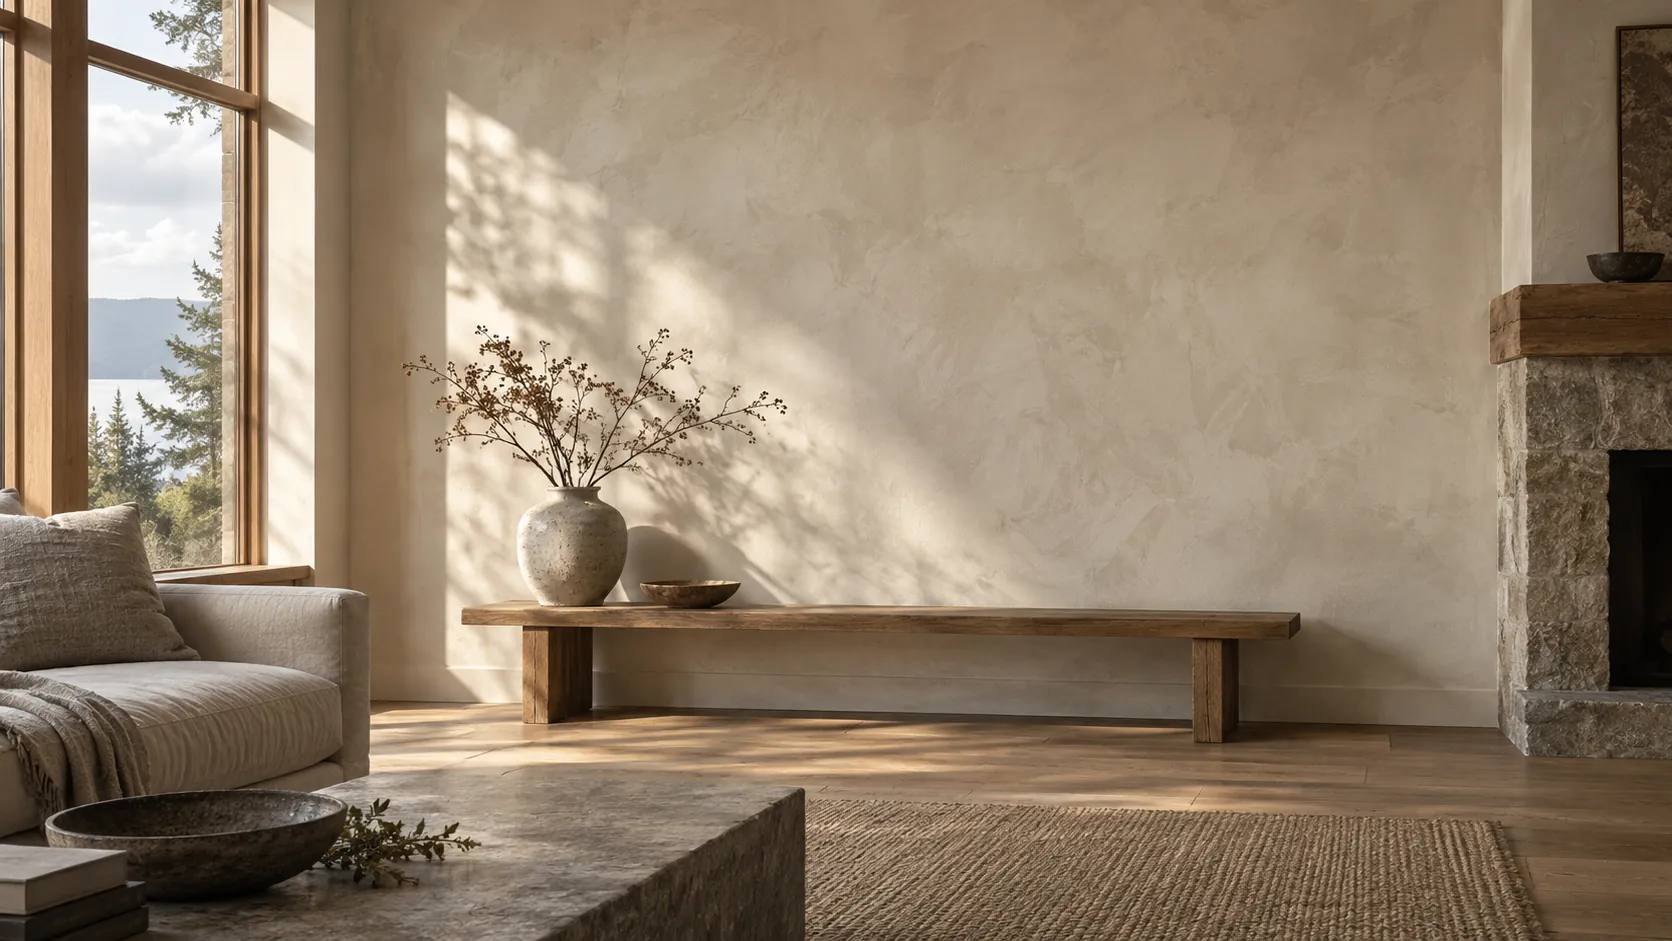
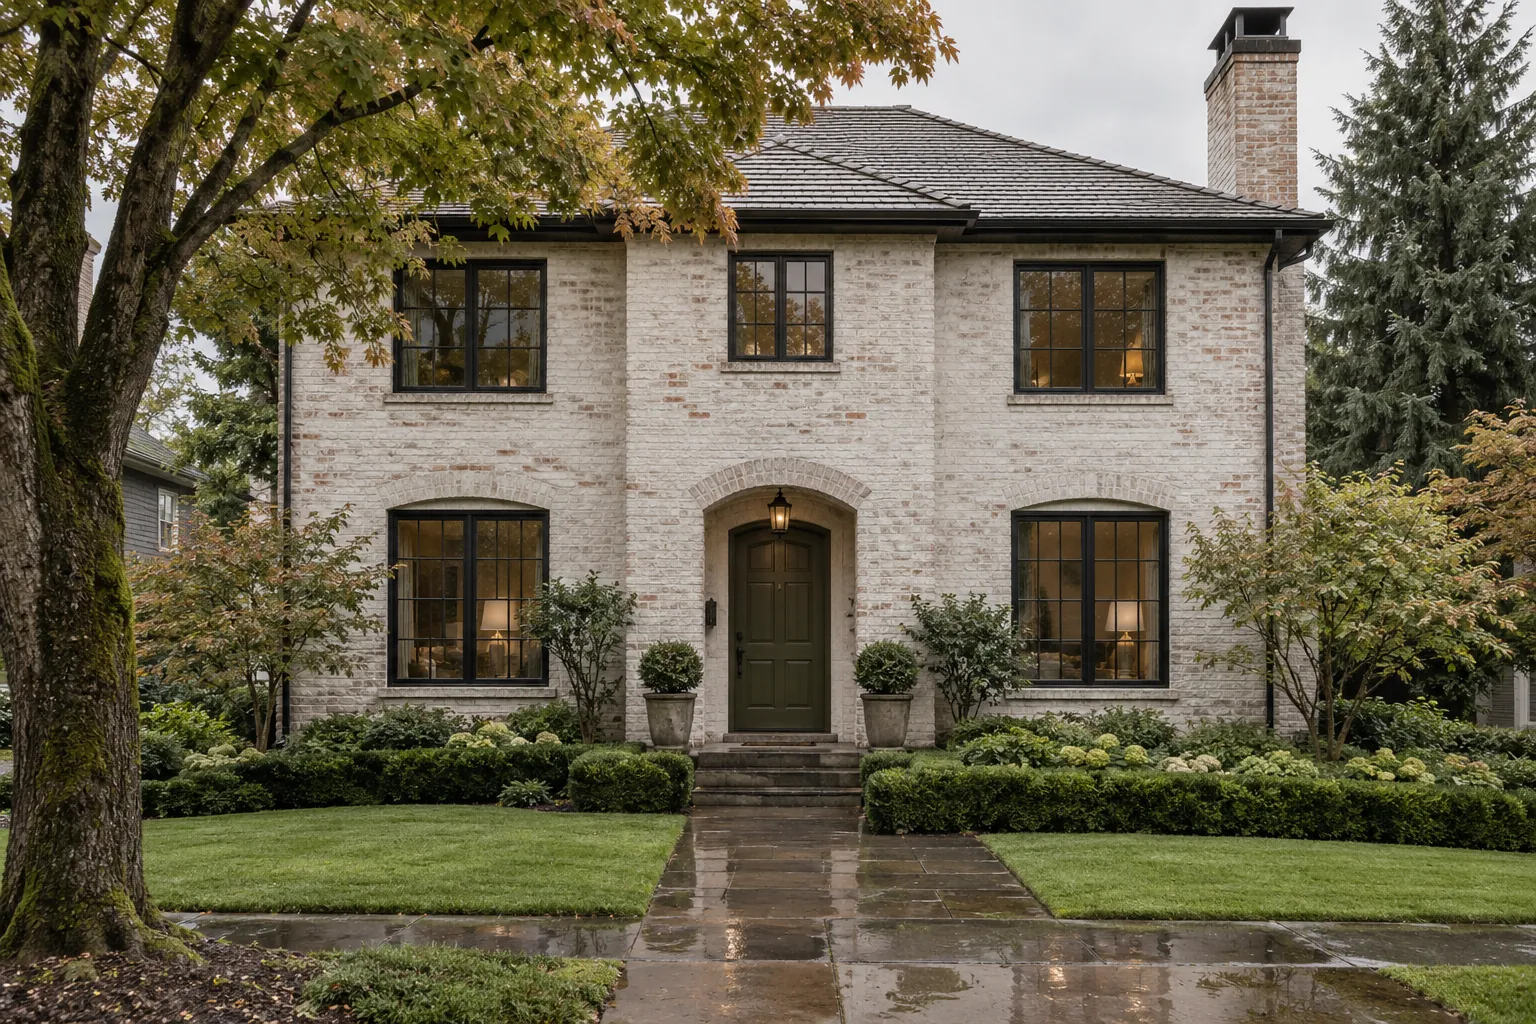
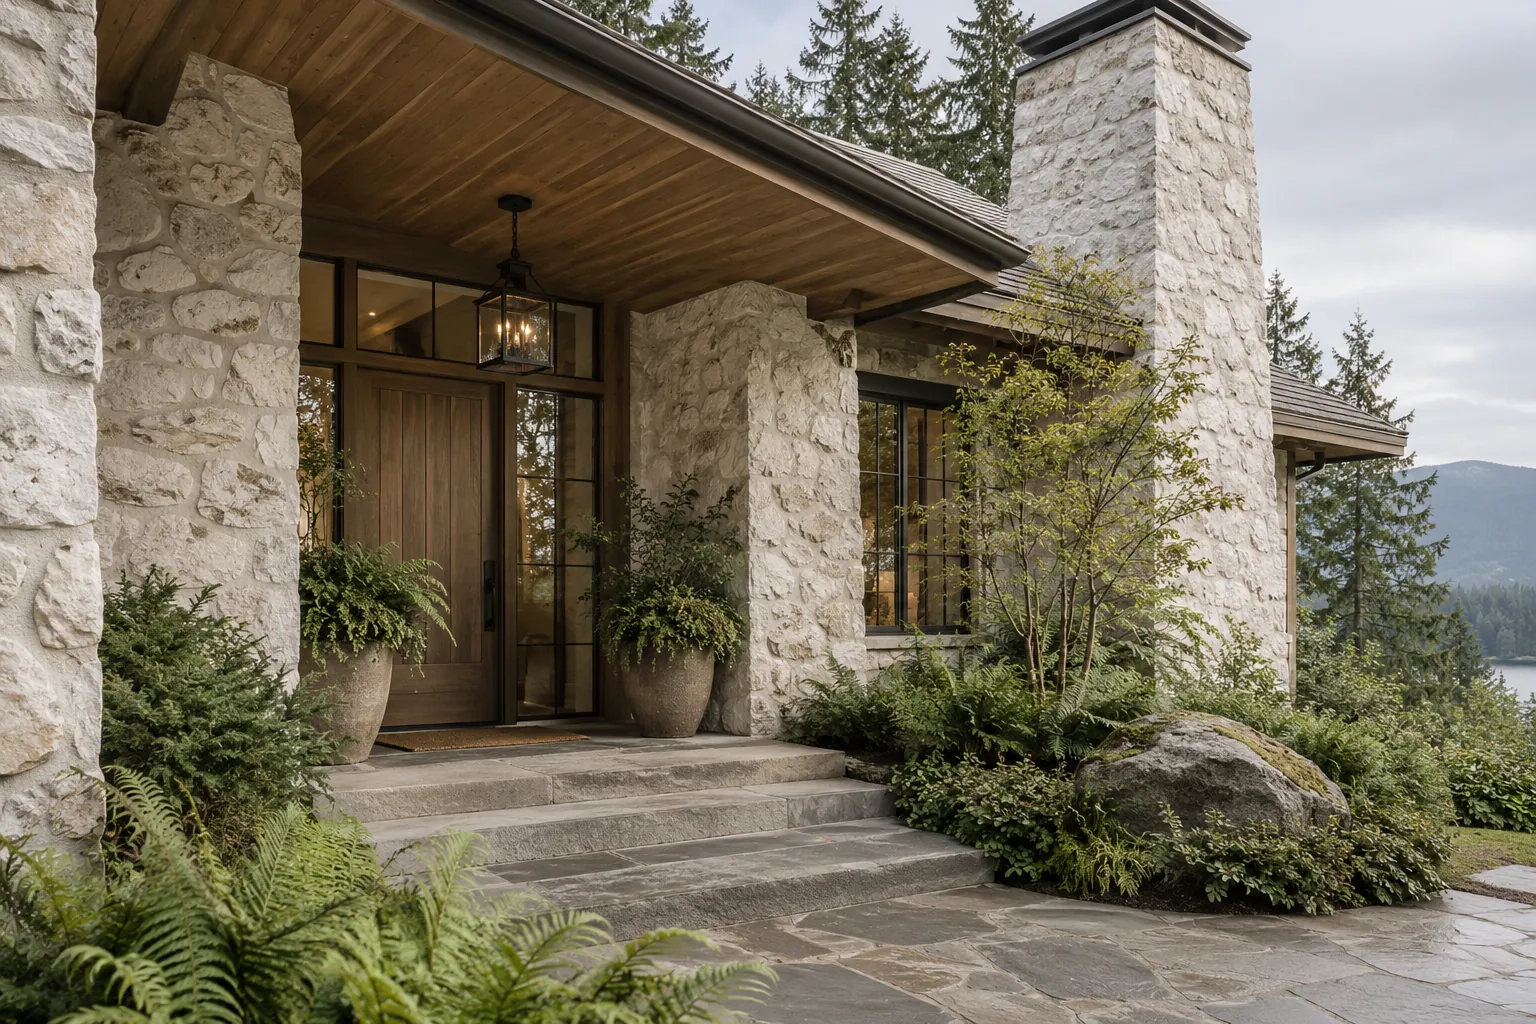
More limewash looks, shown in concept images: rooms, brick, stone, stucco and business interiors. Use them to narrow down a direction, then test it on boards on your own walls.

Rooms and interior walls

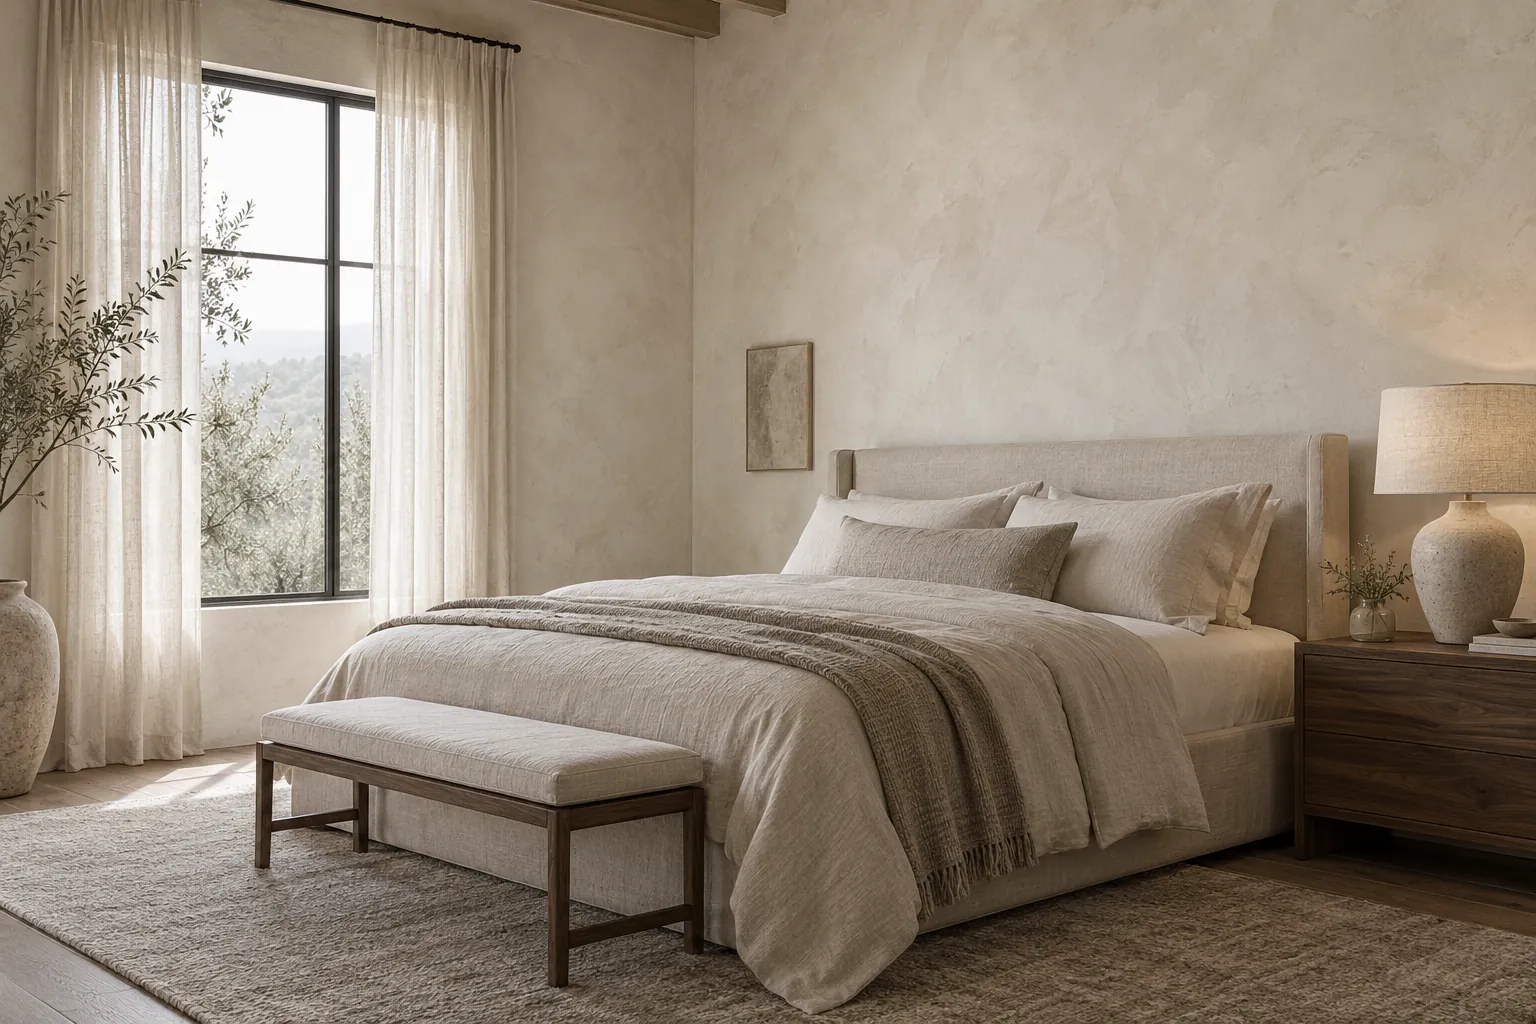
Bedroom with putty-white limewash walls
Putty-white limewash in a bedroom
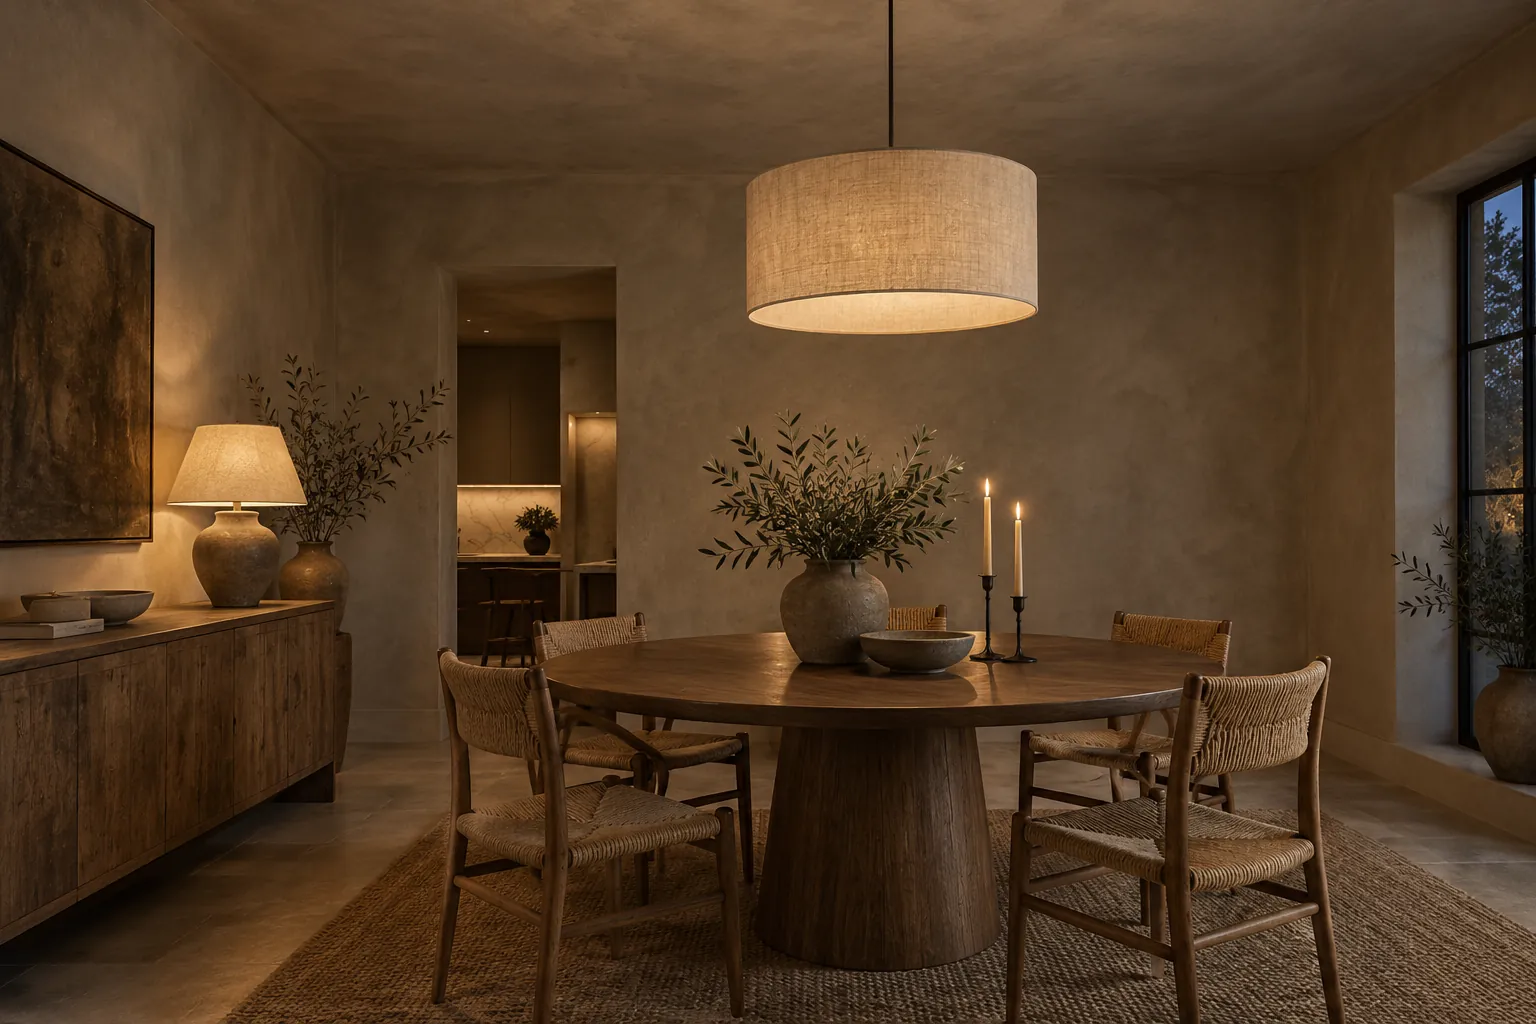
Dining room with walls and ceiling in mushroom limewash
Deep mushroom limewash on walls and ceiling
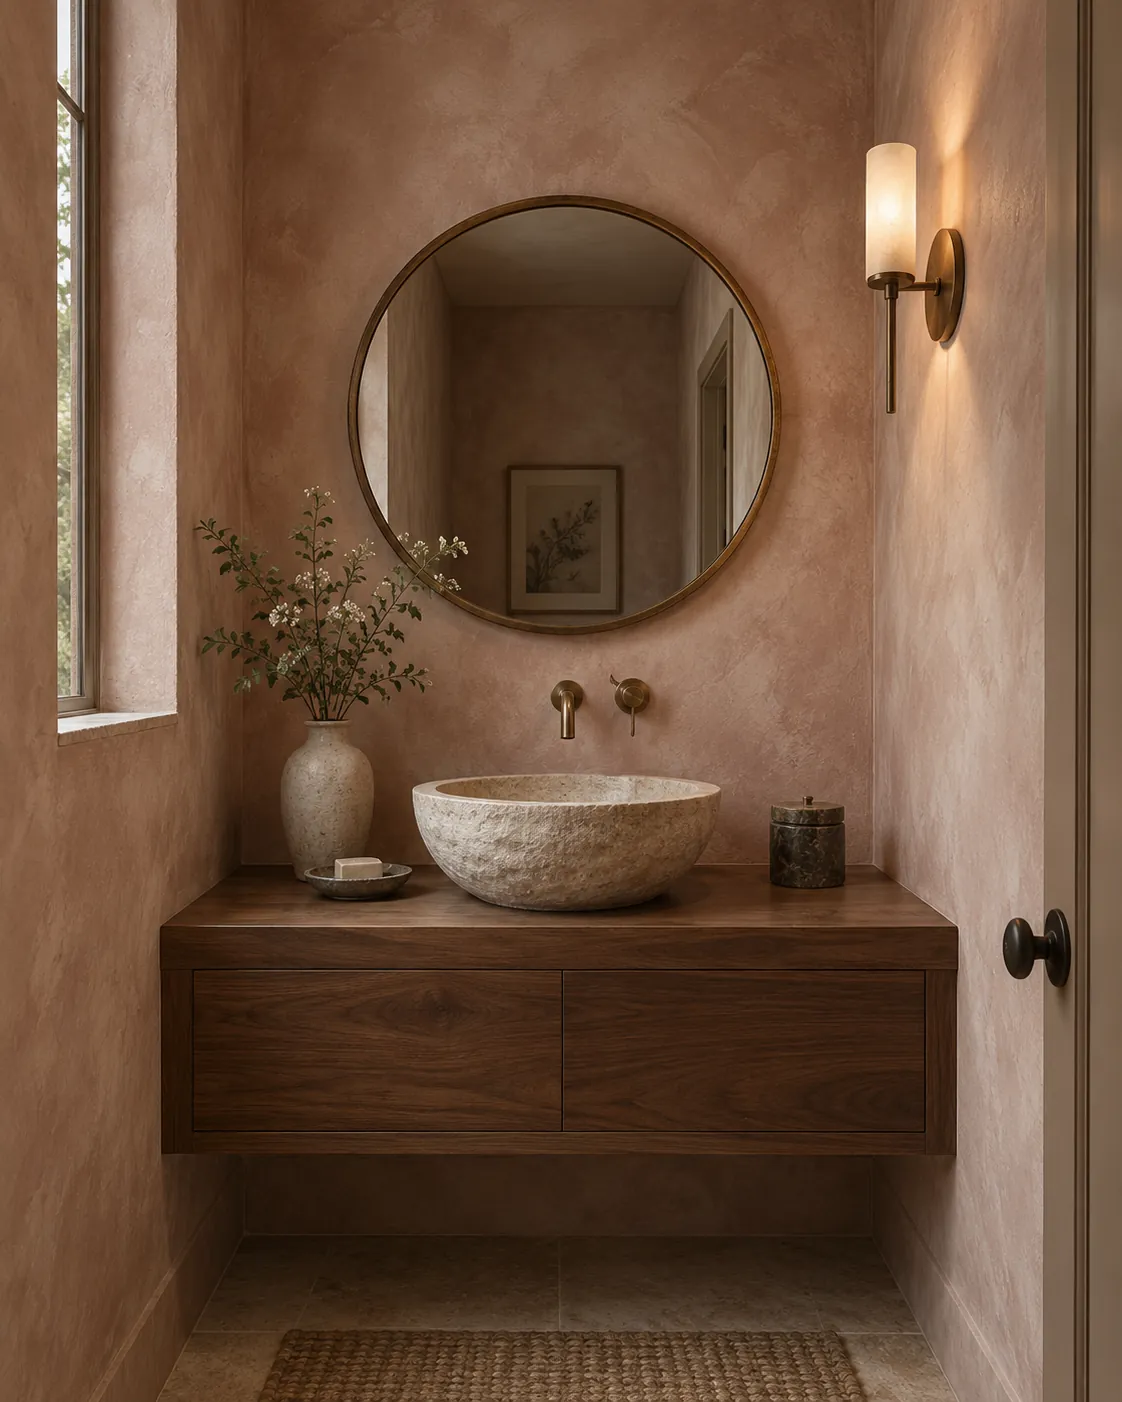
Powder room with clay-pink limewash walls and a carved stone basin
Clay-pink limewash in a powder room
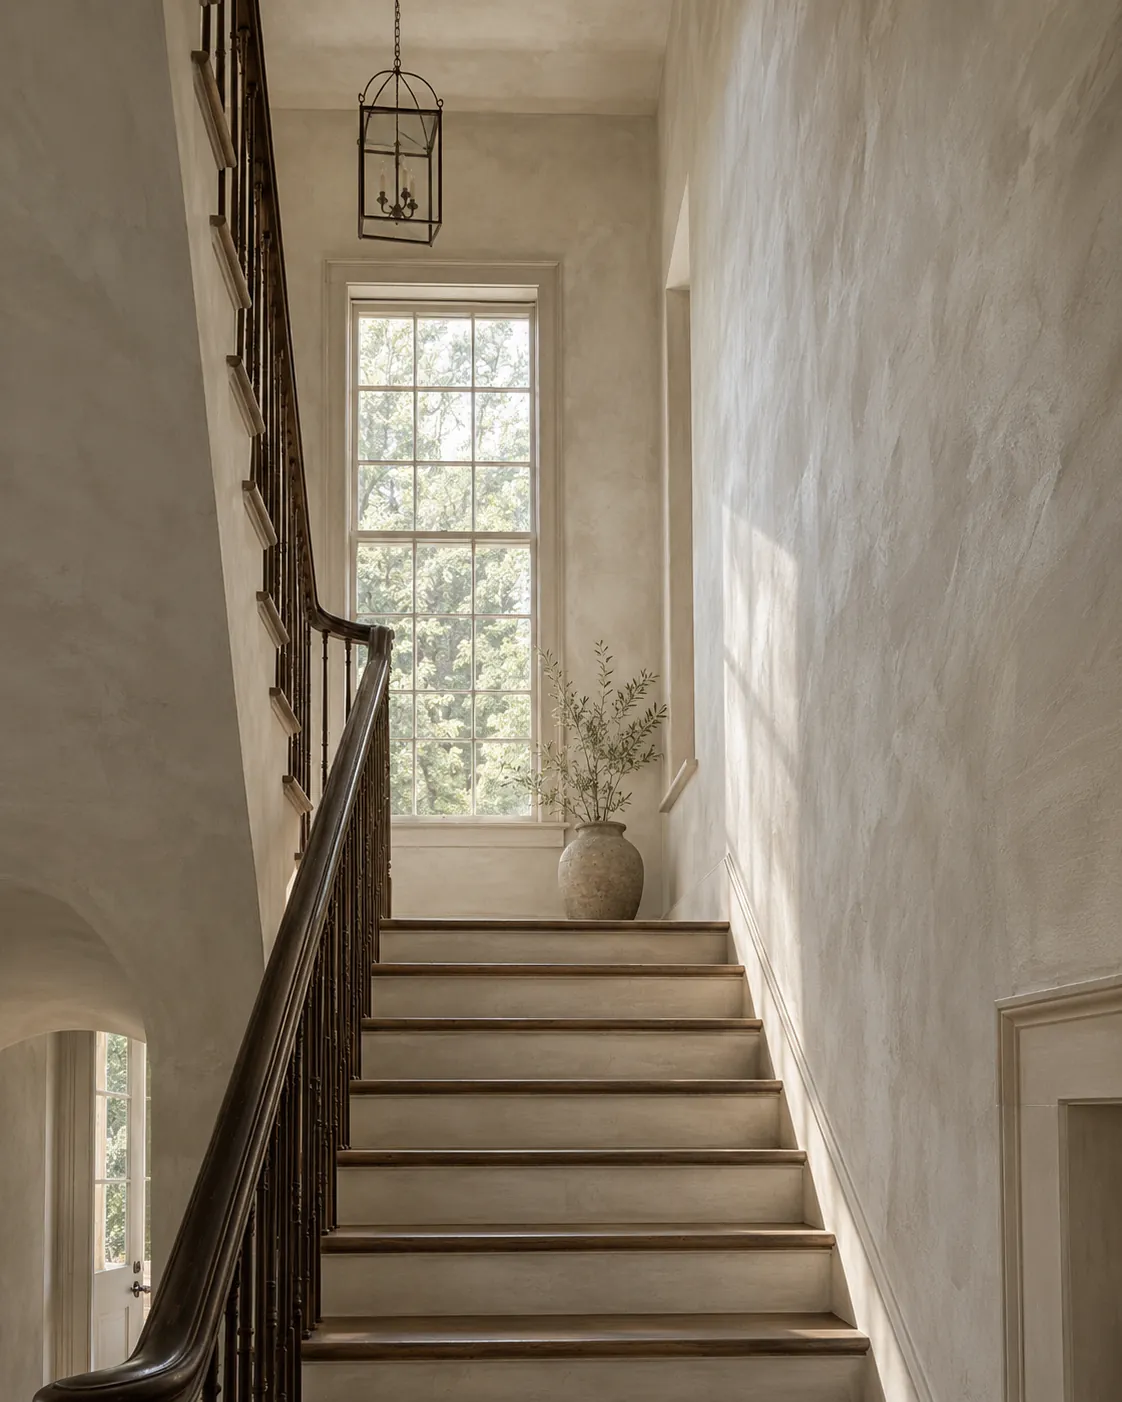
Stair hall finished in oatmeal limewash with a dark handrail
Oatmeal limewash in a tall stair hall
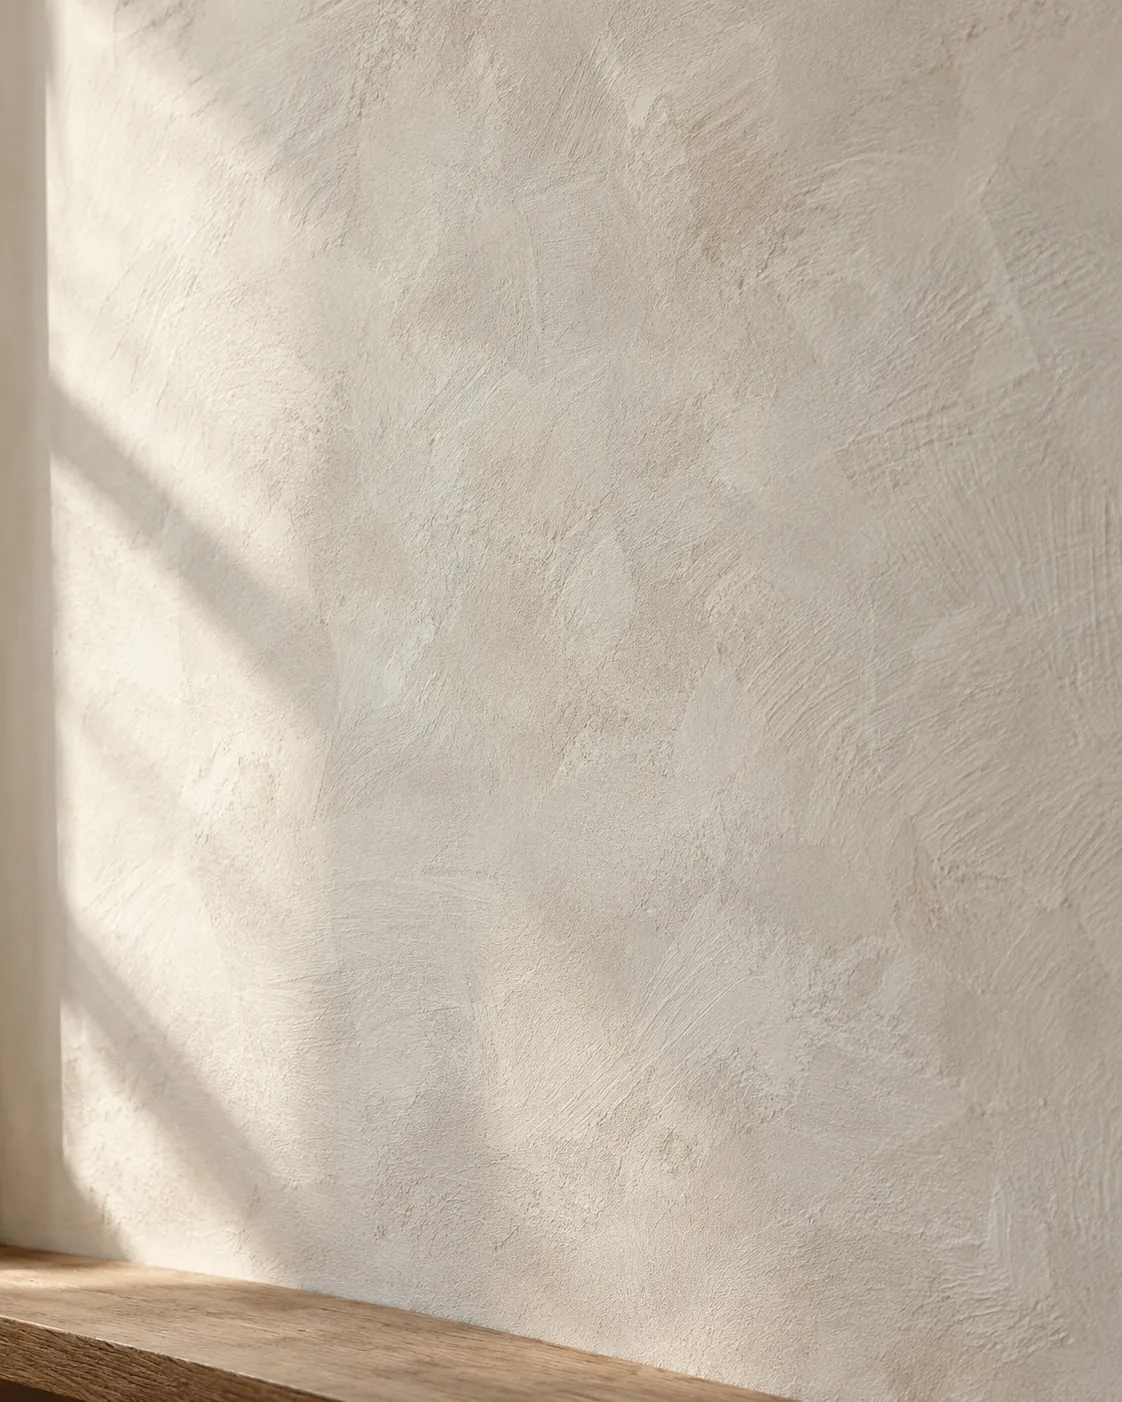
Close view of clouded limewash texture
Close detail of limewash brush movement
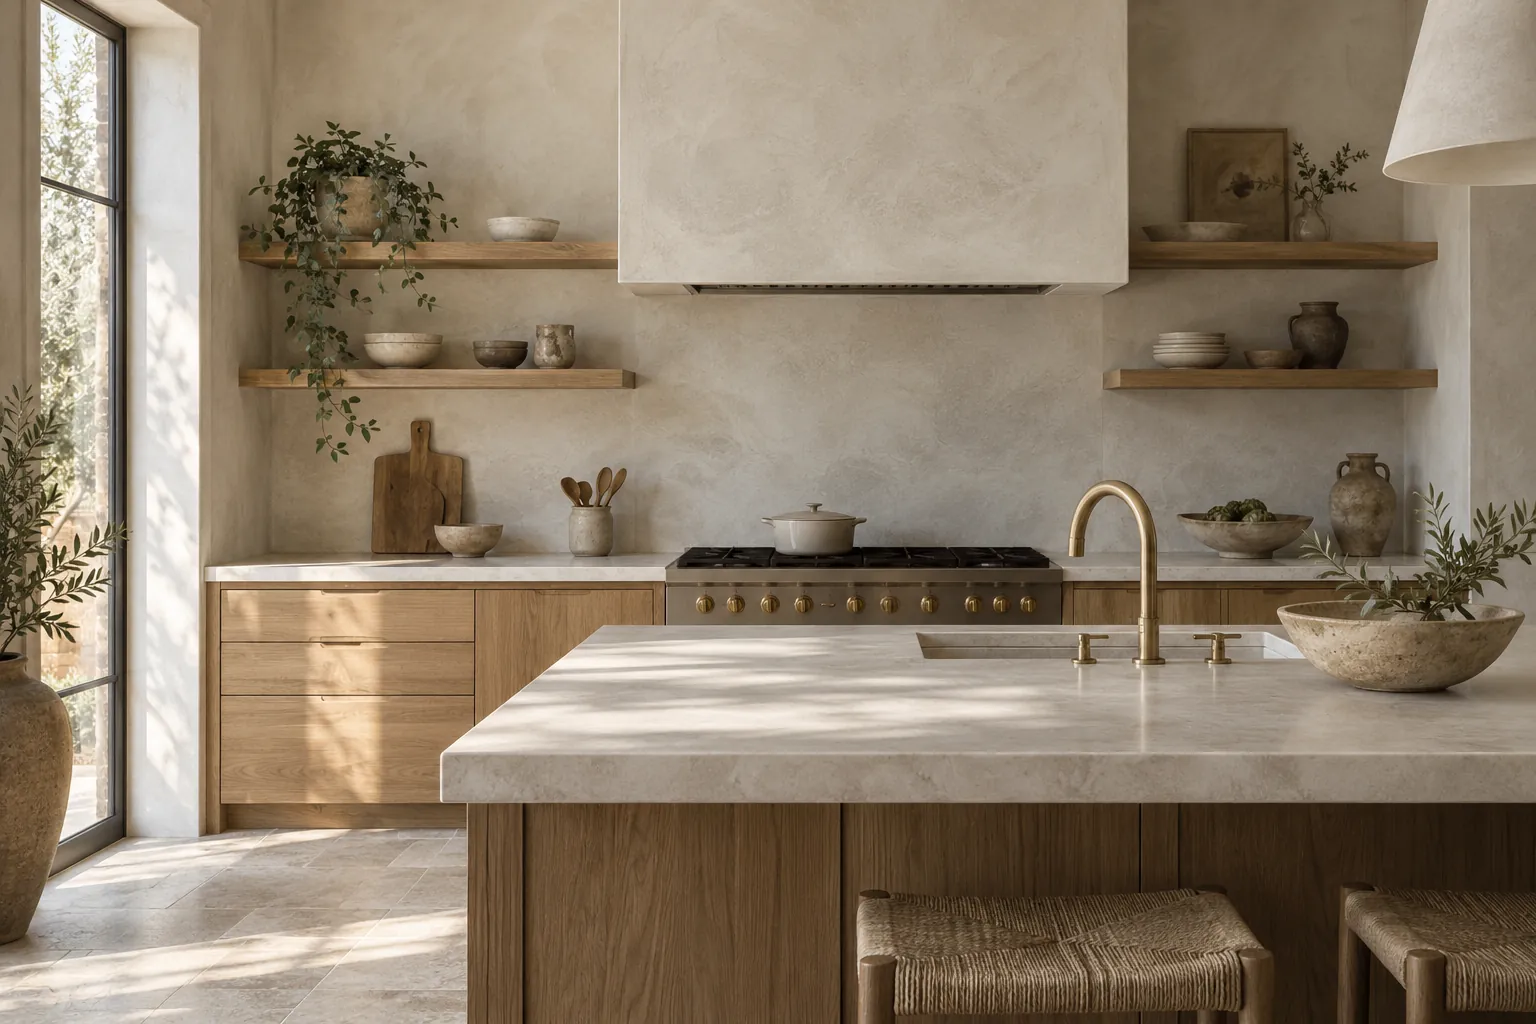
Kitchen with a limewash range hood and wall behind open shelves
Creamy limewash on a range hood and kitchen wall
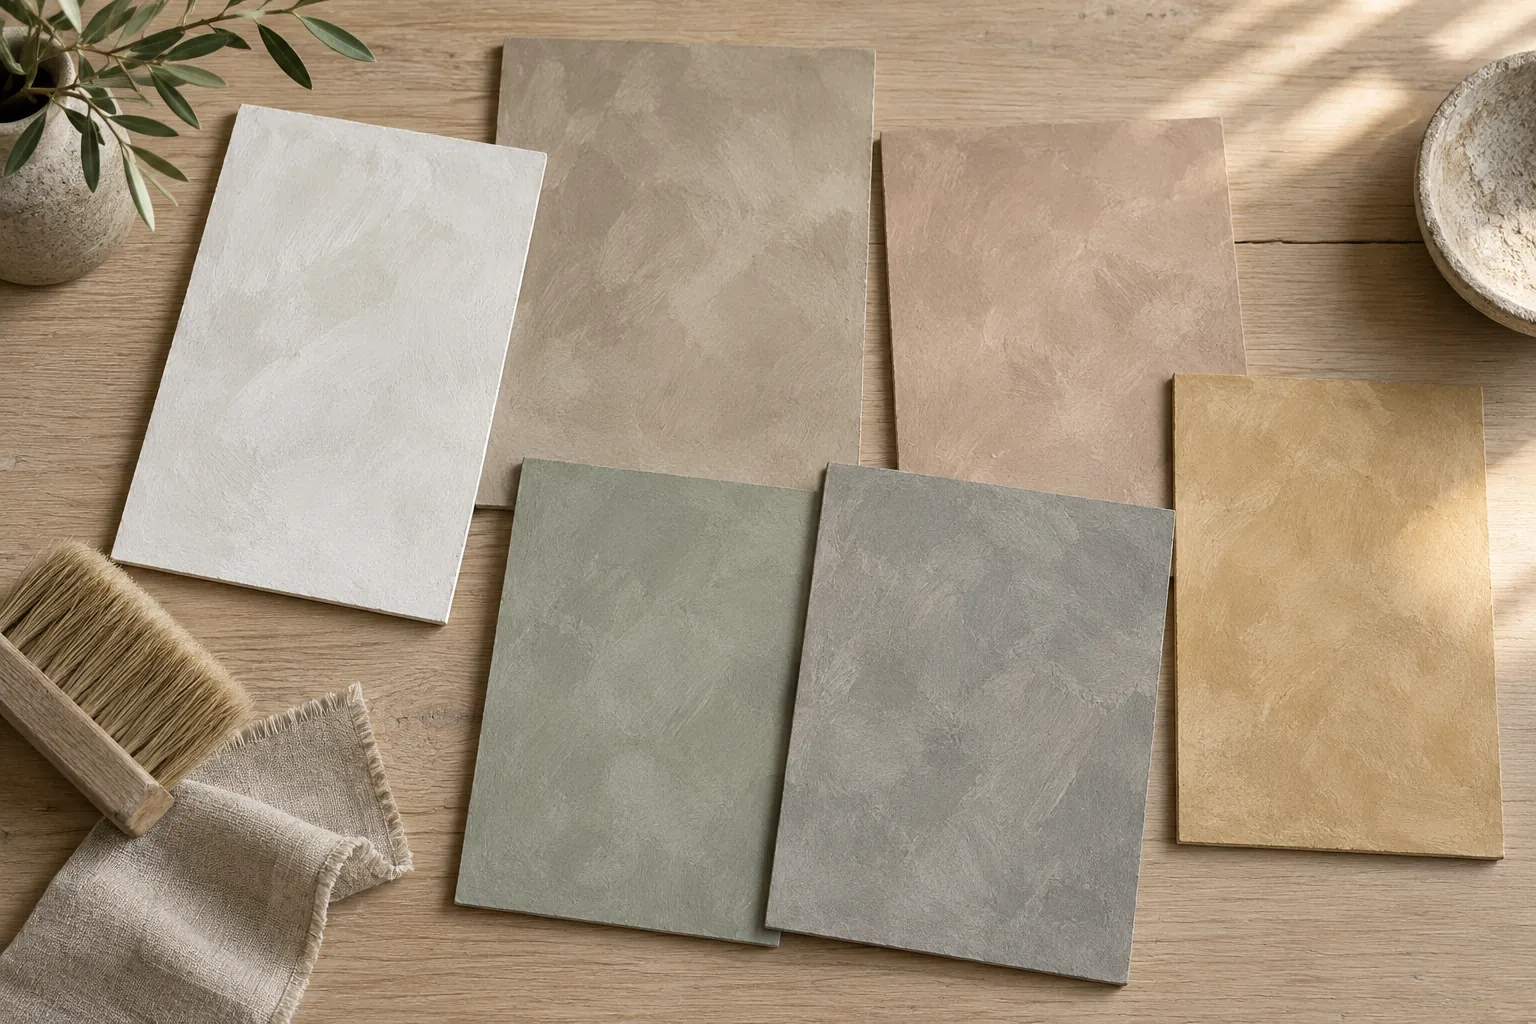
Limewash sample boards in six mineral colors
Hand-brushed limewash sample boards
Family room with limewash over primed drywall
Warm-white limewash over primed drywall
Ivory limewash on a living-room wall in low morning light
Warm ivory limewash on a living-room wall

Masonry, outdoor walls and businesses

Two-story brick house with soft white limewash
Soft white limewash on a brick house
Stone entrance and chimney limewashed bone white
Bone-white limewash on a stone entry
Single-story stucco house in sand-colored limewash
Warm sand limewash on a stucco house
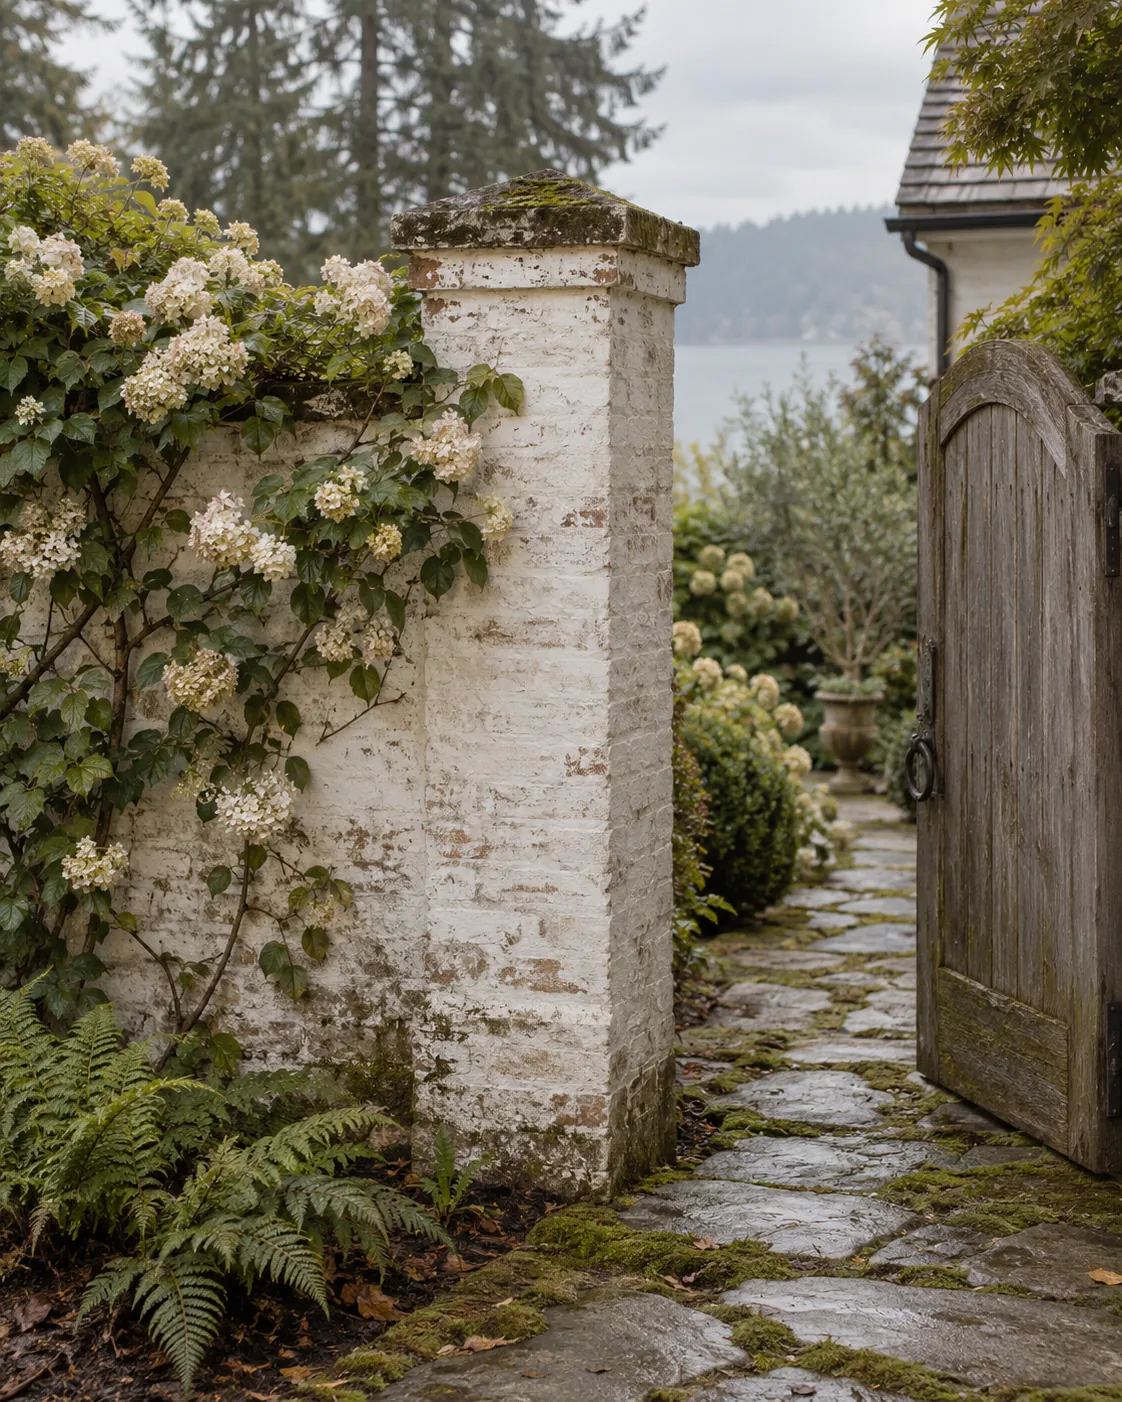
Brick garden pier with weathered white limewash
Weathered white limewash on a brick pier
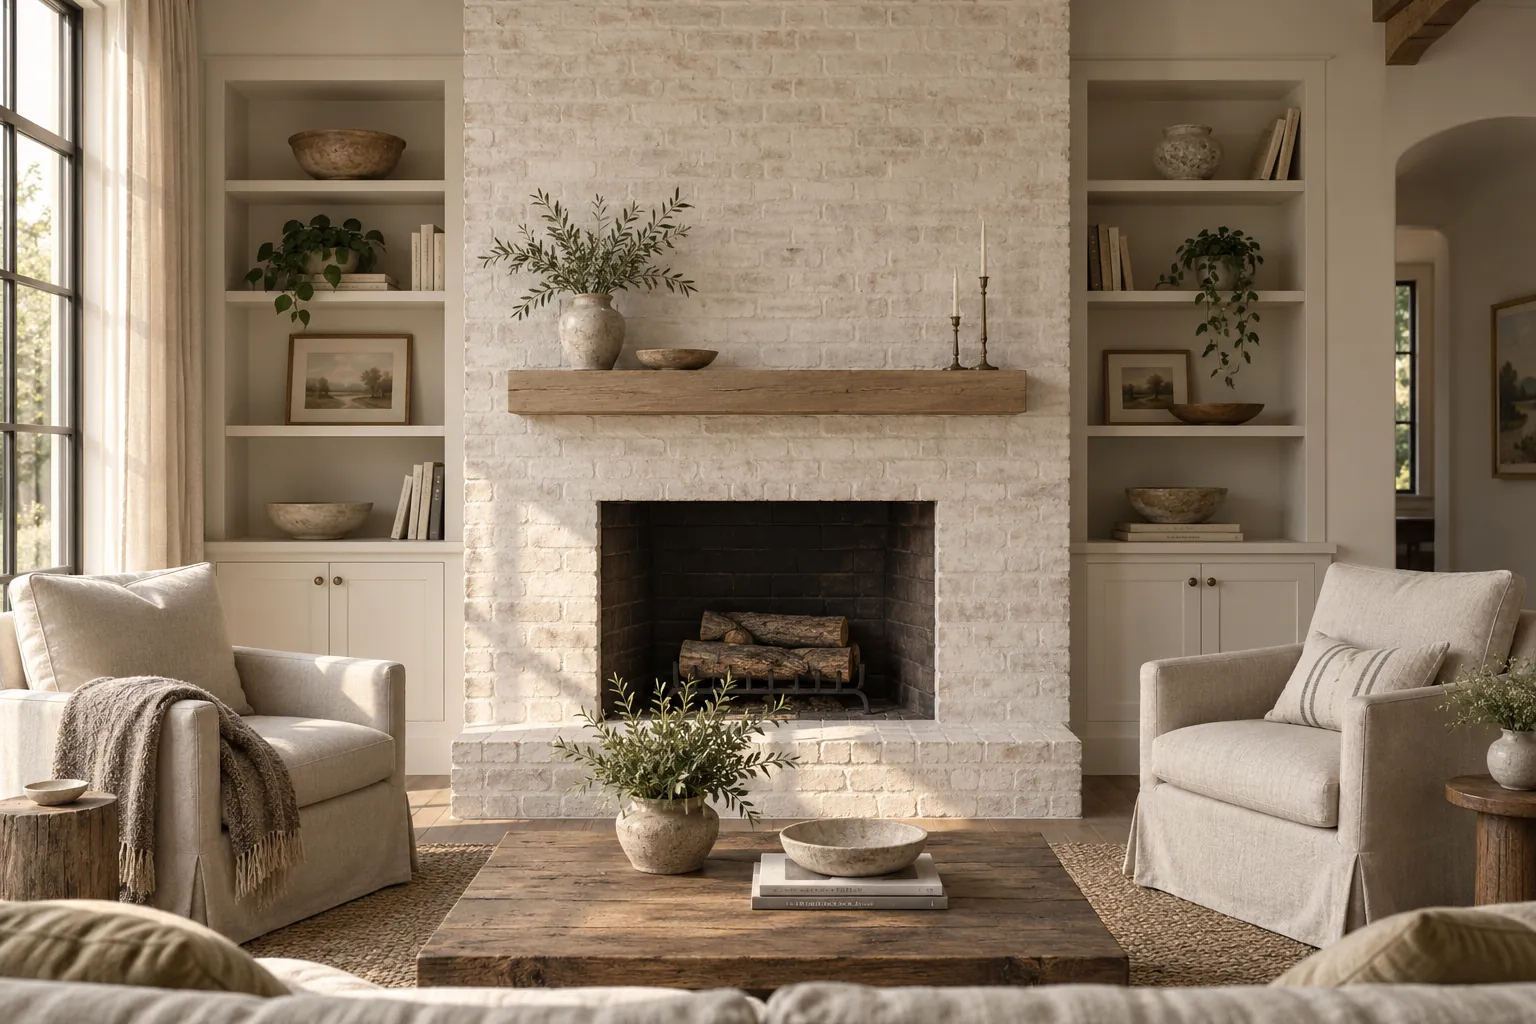
Brick fireplace in white limewash between built-in shelves
Chalky white limewash on a brick fireplace
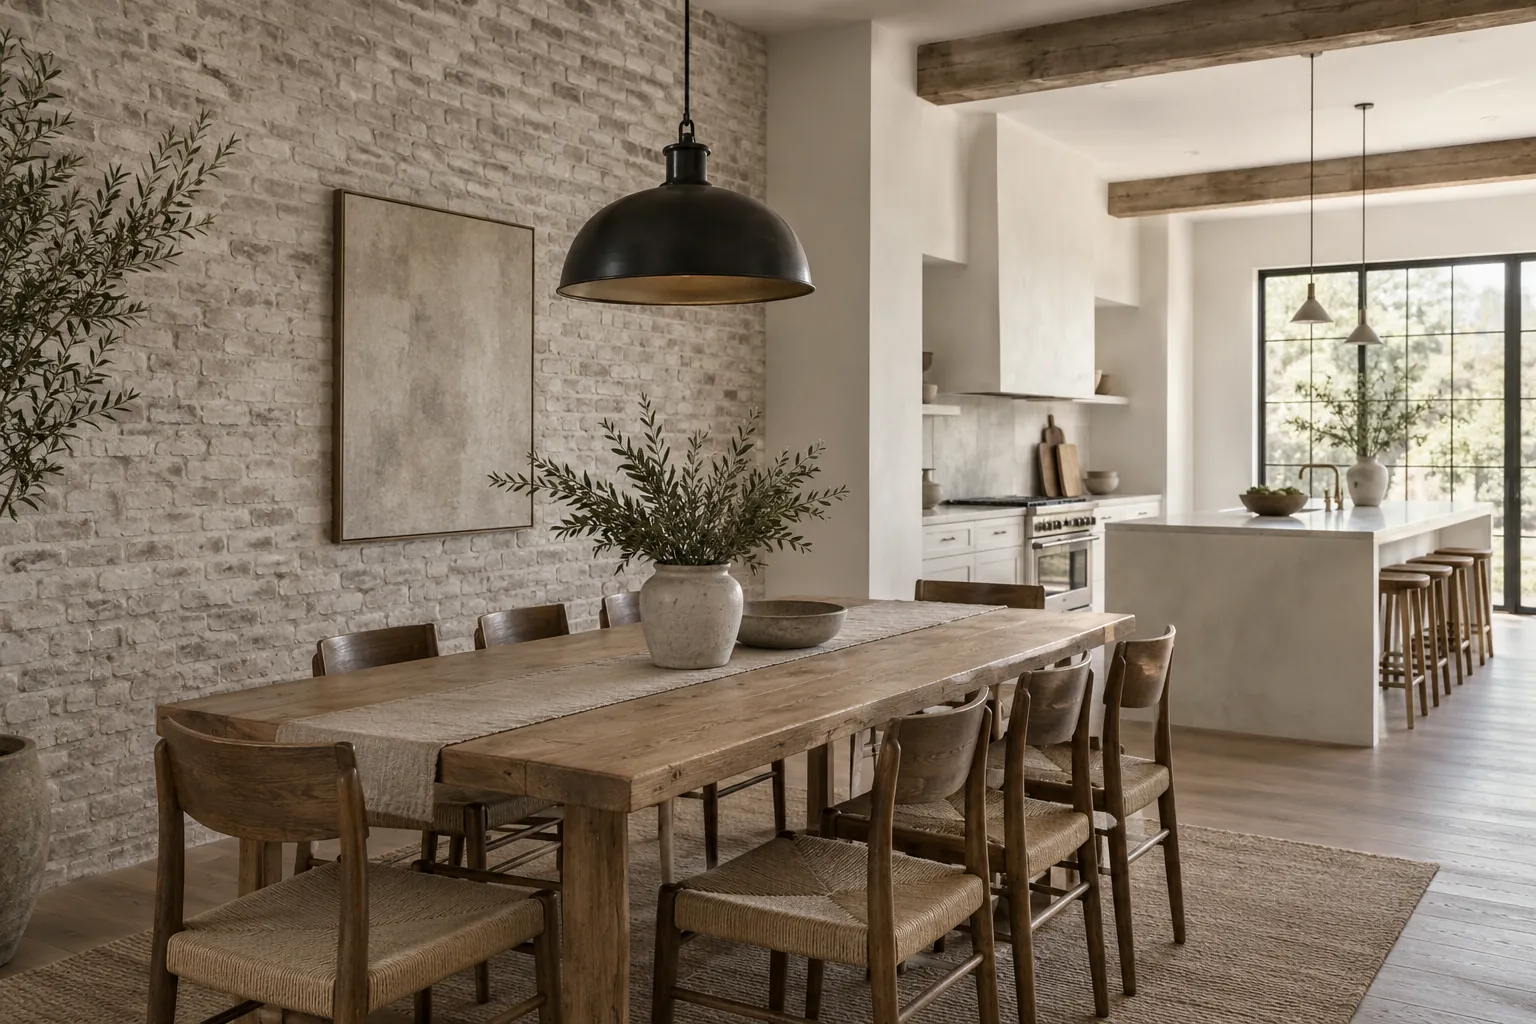
Dining area with a limewashed interior brick wall
Pale stone-gray limewash on an indoor brick wall
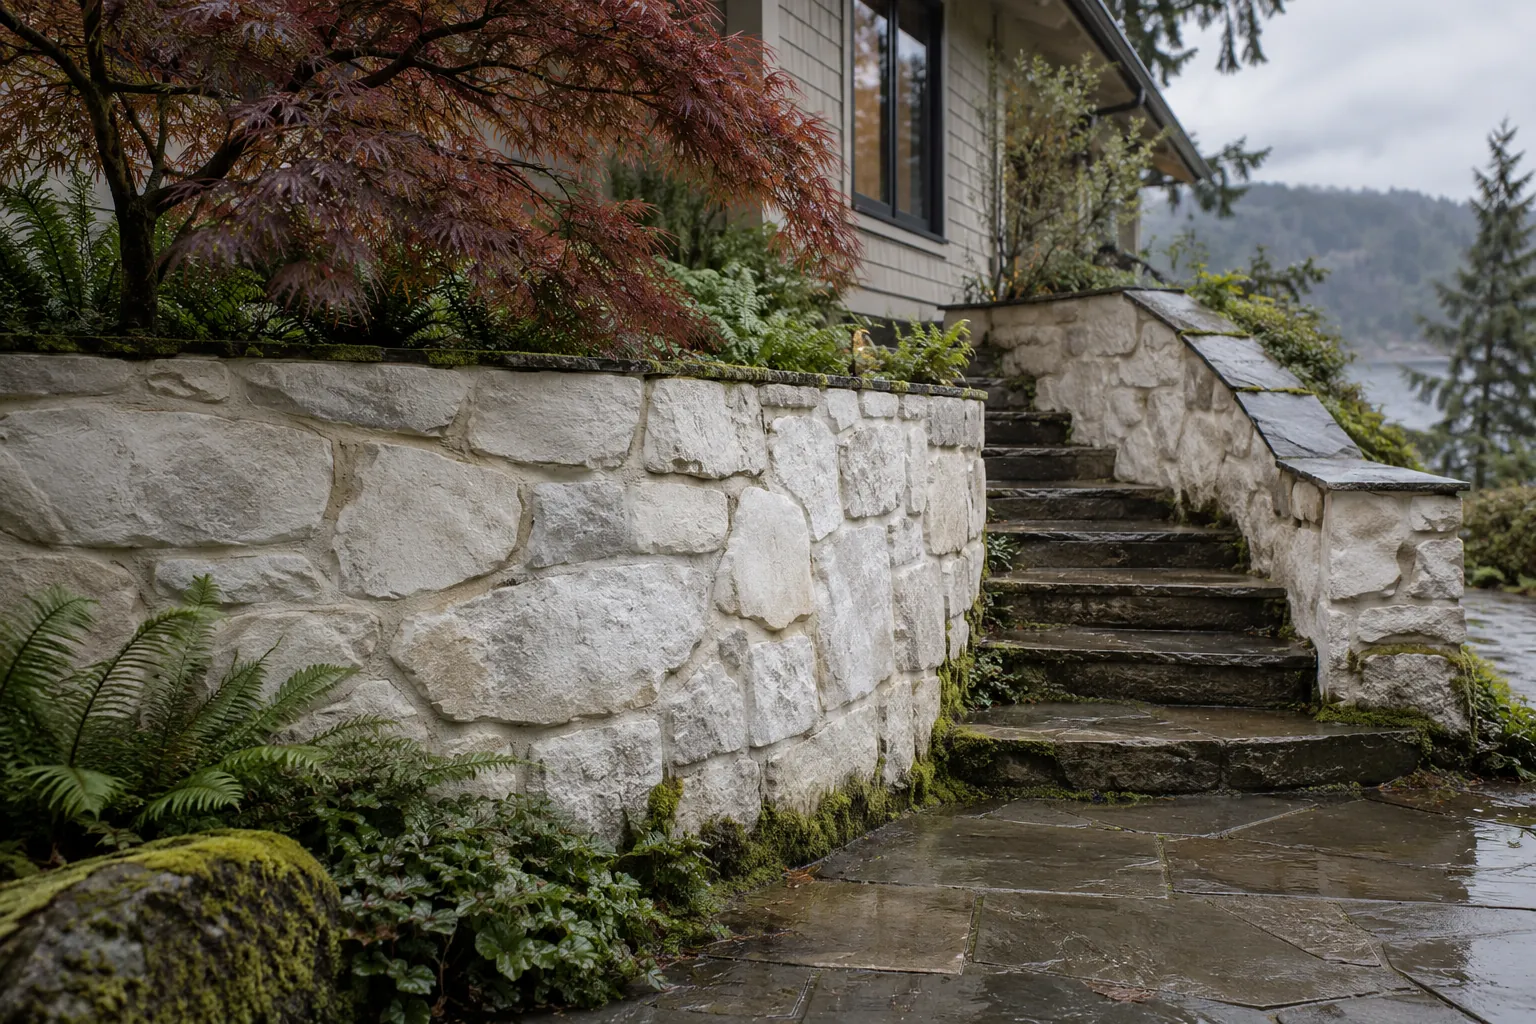
Fieldstone retaining wall limewashed bone white
Bone-white limewash on a stone retaining wall
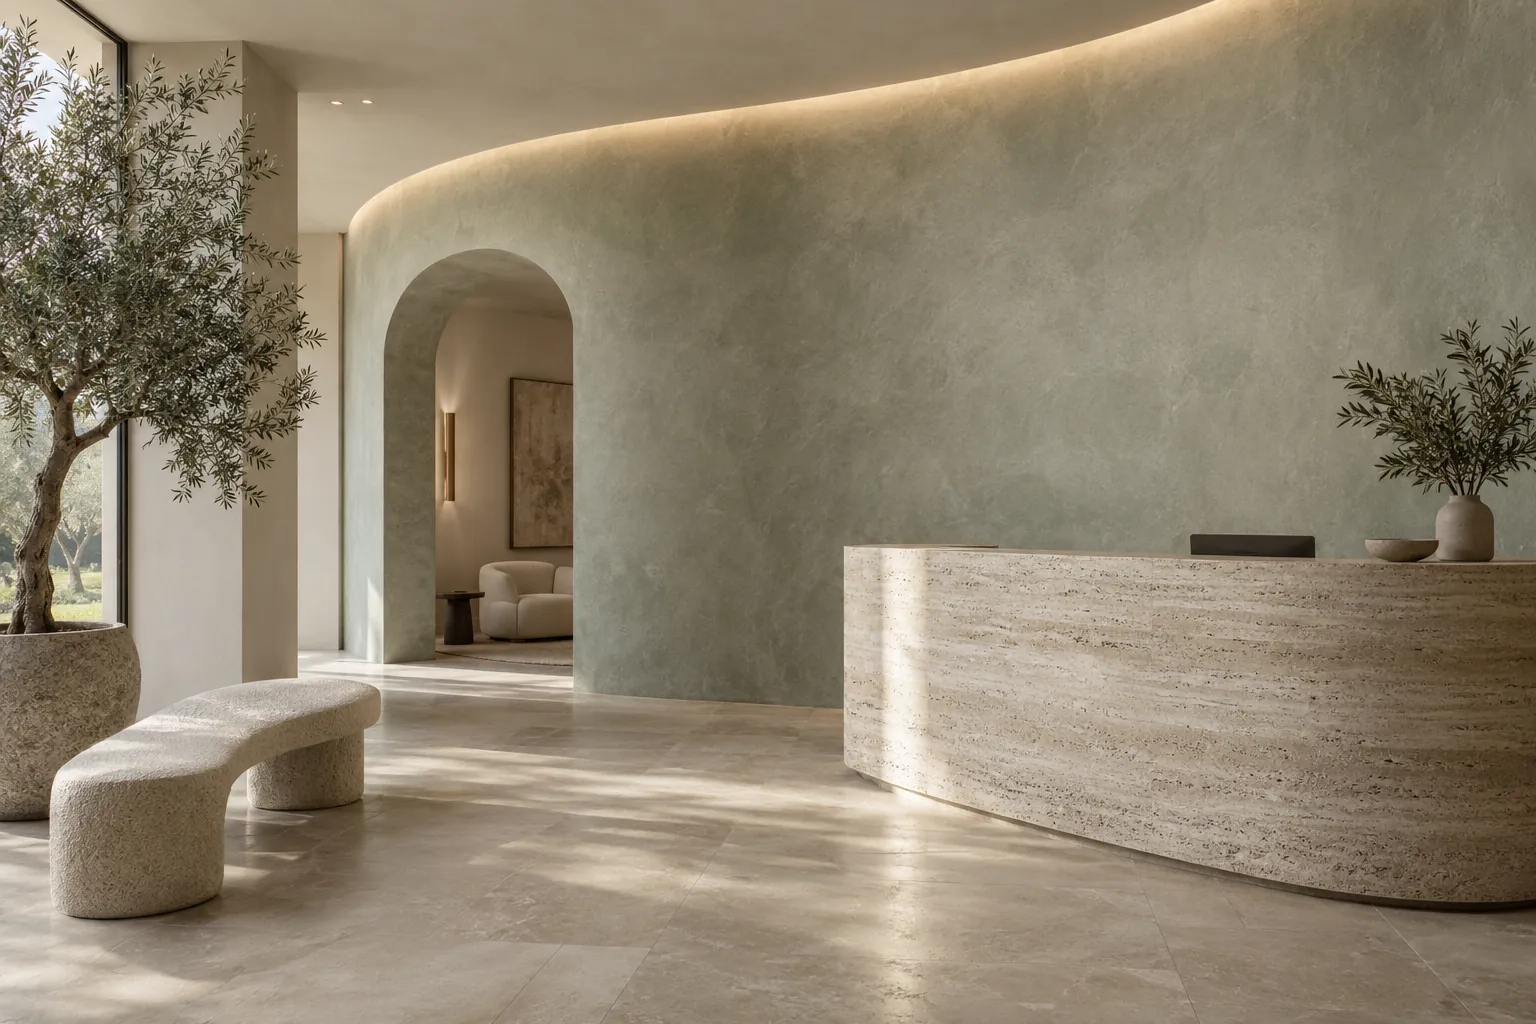
Lobby with a curved gray-green limewash feature wall
Gray-green limewash on a curved lobby wall
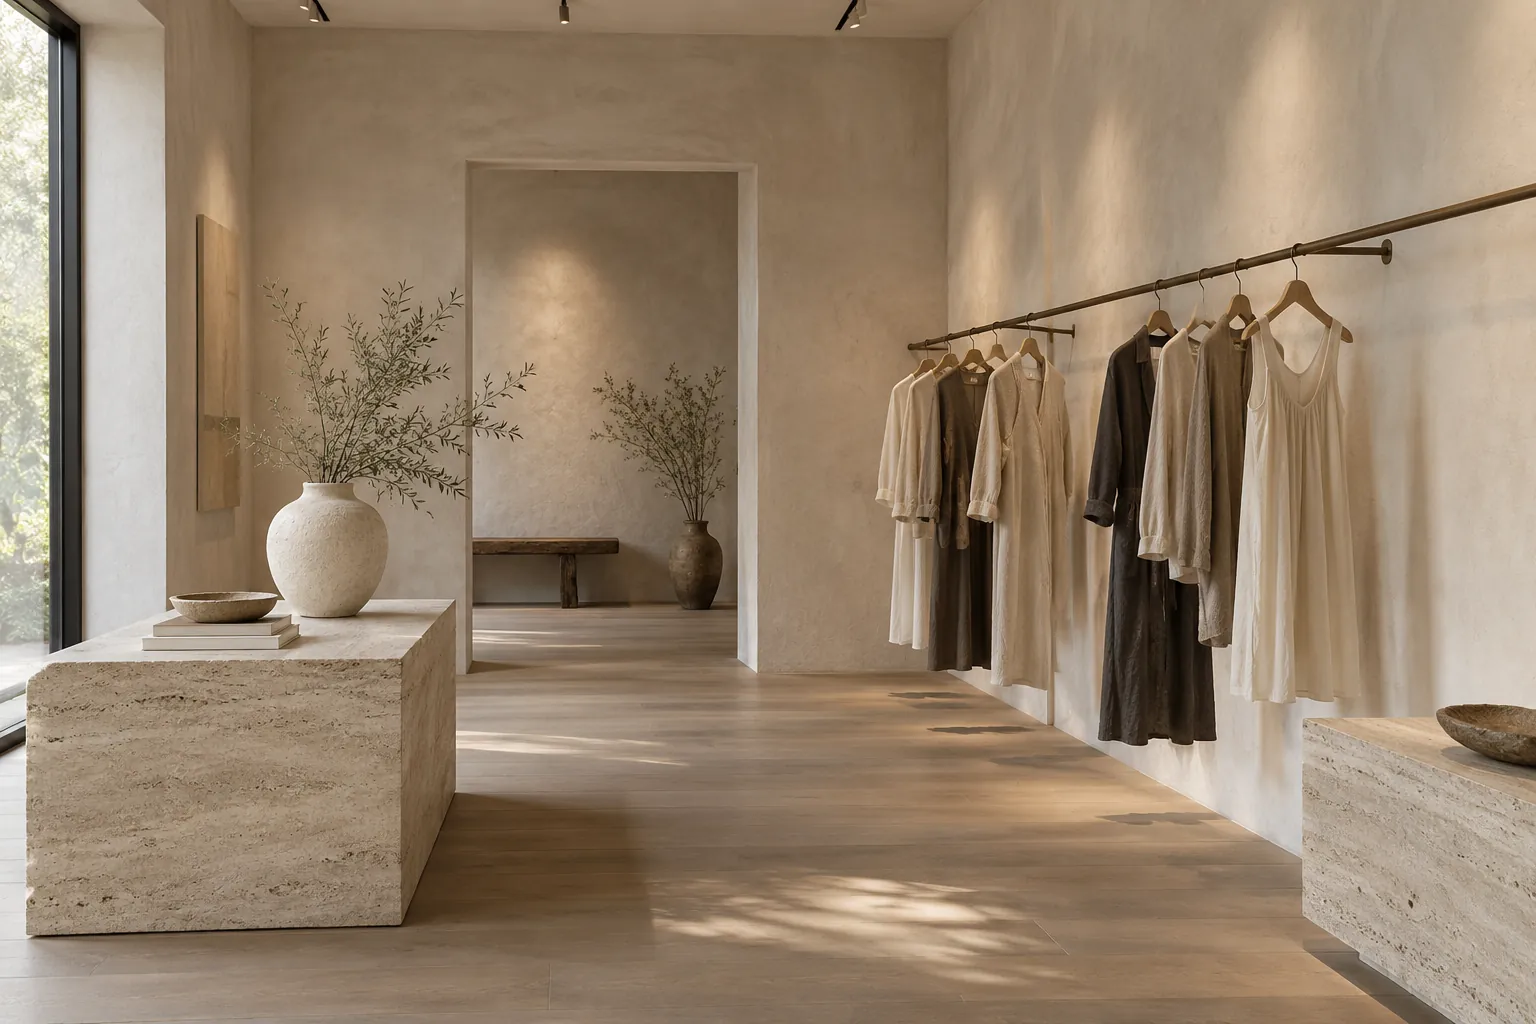
Boutique interior with pale clay limewash walls
Pale clay limewash in a boutique
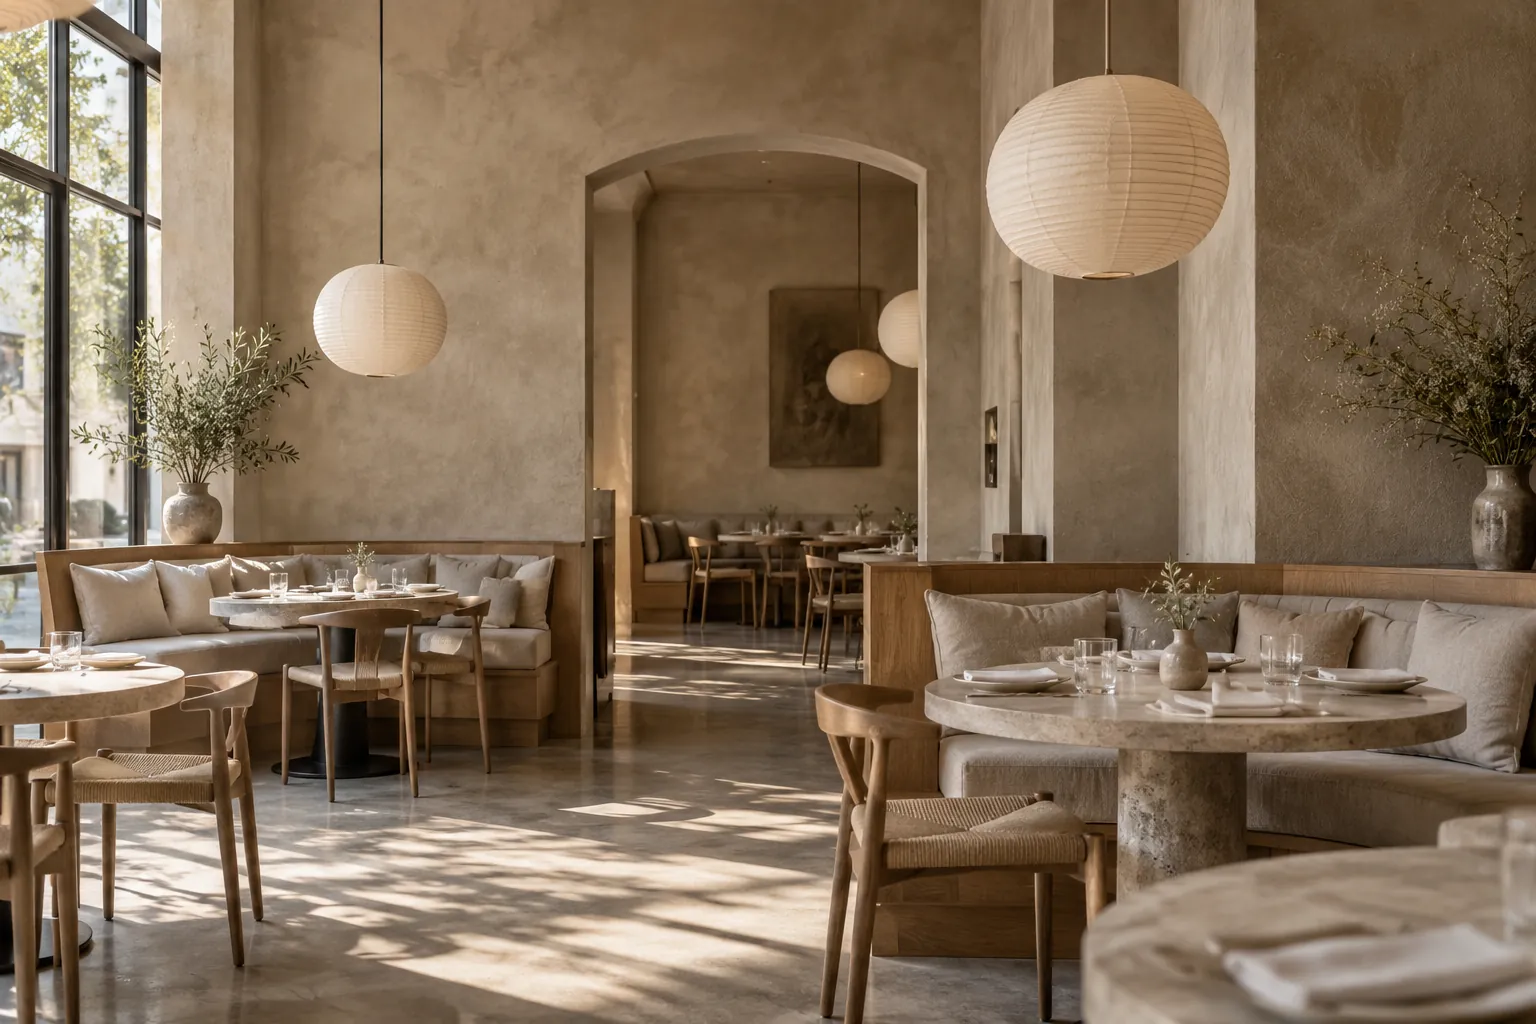
Restaurant dining room with taupe limewash walls
Warm taupe limewash in a restaurant

Request a free limewash quote

Tell us which surfaces you have in mind, roughly how big they are and where the property is. We'll get back to you soon with an estimate or any questions we have. Estimates are free and there's no obligation.

Call (737) 234-9216

Call (737) 234-9216